Pickleball has seen a surge in popularity in recent years, and with it, the demand for high-quality indoor courts. Whether you’re building a recreational pickleball space or a competitive venue, choosing and installing the right flooring is crucial for both performance and durability. Indoor pickleball flooring is designed to provide the perfect balance of traction, shock absorption, and stability, but proper installation is just as important. This guide will walk you through every step of installing indoor pickleball flooring like a pro, from preparation to maintenance.
Understanding Indoor Pickleball Flooring
Before diving into the installation process, it’s important to understand the different flooring materials available and what makes them suitable for indoor pickleball courts. The flooring not only affects how the ball bounces but also how the players feel during intense rallies.
-
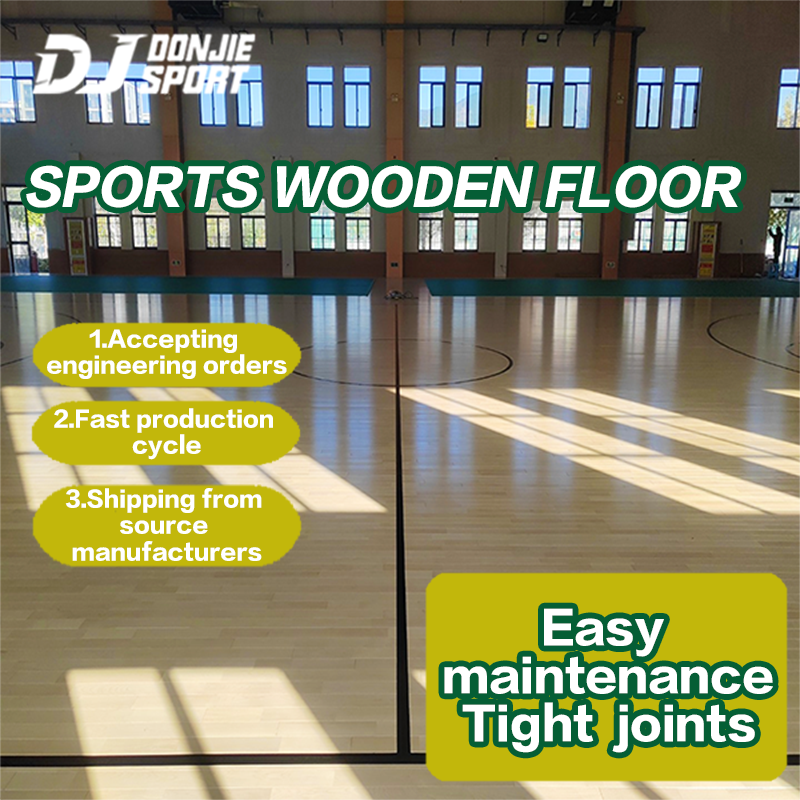
Wood Flooring: Traditionally used in indoor sports courts, wood offers a classic look and a responsive playing surface. Maple wood is commonly used for its durability and ideal hardness. However, wood can be more prone to wear and tear and may require more maintenance than other materials.
-
Rubber Flooring: Rubber is a durable, shock-absorbing material that reduces the risk of injury. It’s often used in gyms and multipurpose spaces, offering excellent cushioning for players. However, it may not provide the same level of ball bounce consistency as other options.
-
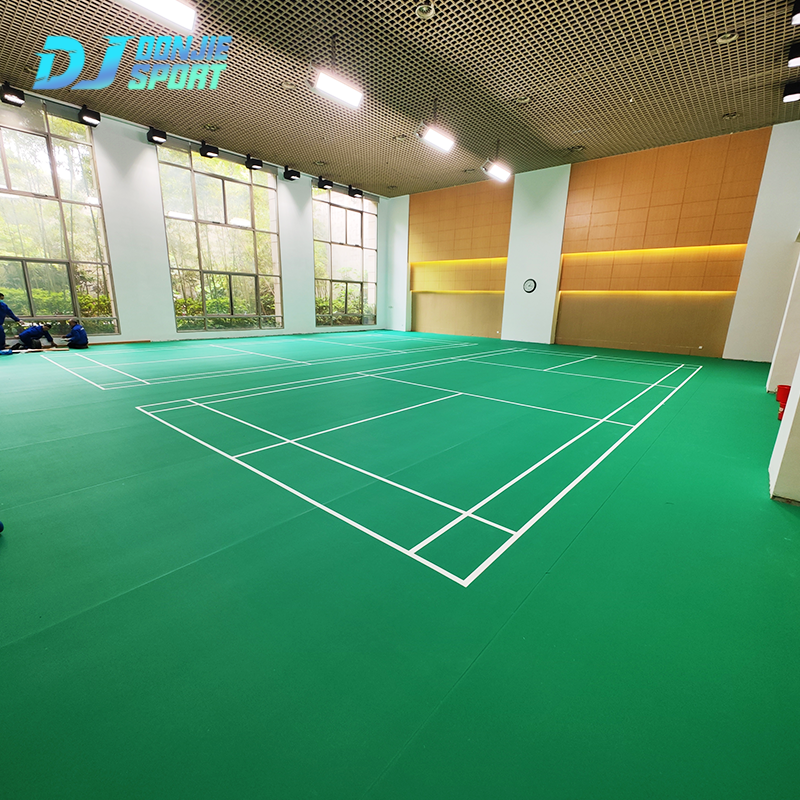
PVC Flooring: PVC flooring is becoming increasingly popular due to its versatility and low maintenance. It’s available in tiles or roll-out sheets and provides great durability, resistance to wear, and easy cleaning.
-
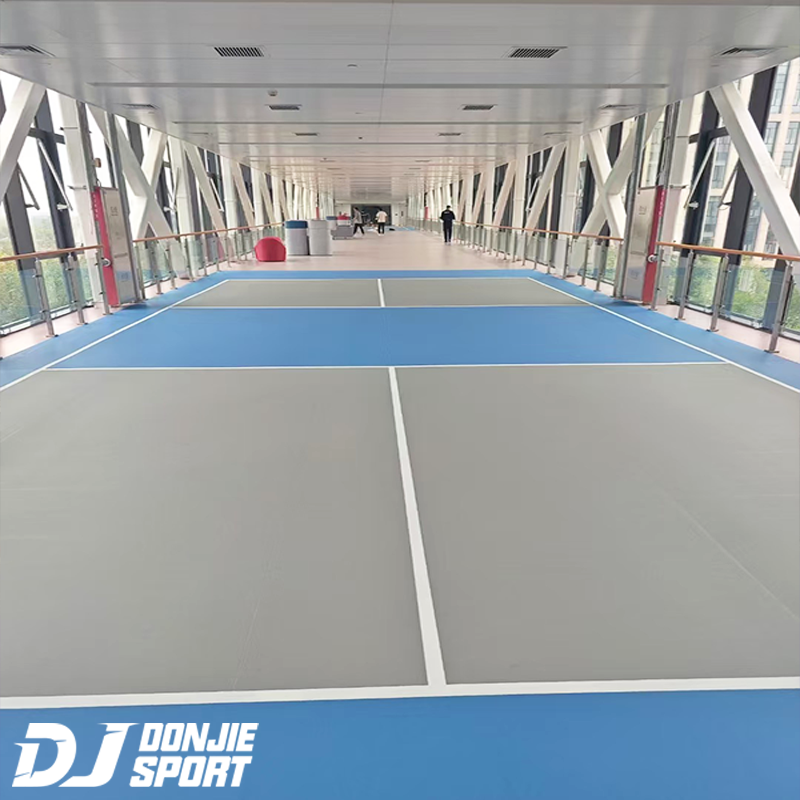
Vinyl Court Flooring: This option combines the benefits of durability, shock absorption, and excellent traction. It’s ideal for high-traffic areas and provides consistent ball bounce.
Each type of flooring offers distinct advantages, and choosing the right one depends on your budget, space, and performance needs.
Preparing Your Space for Installation
Proper preparation is crucial for a smooth installation process and long-lasting results. Here’s what you’ll need to do before laying down your indoor pickleball flooring.
-
Assessing the Court Space: The first step is measuring the court dimensions. A standard pickleball court is 20 feet by 44 feet for doubles play, and you’ll need to ensure your space can accommodate these dimensions. Measure the floor space and allow a few extra feet on each side for movement and edge trimming.
-
Cleaning and Leveling the Subfloor: The subfloor must be clean, dry, and level before you begin. Remove any debris, dust, or old flooring material. If the surface is uneven, you may need to level it with a floor leveling compound to ensure the new flooring lays flat.
-
Necessary Tools and Materials: Gather all the tools you’ll need before you start. These may include a tape measure, a utility knife (for cutting PVC or vinyl), a saw (for wood), a rubber mallet, adhesive, a roller, and trim pieces for the edges. You may also need a chalk line for marking straight lines.
Step-by-Step Installation Process
1. Choosing the Right Flooring Material
Your choice of flooring will depend on the level of play and the type of performance you desire. Here’s a breakdown of the most common options:
-
Wood: Ideal for competitive indoor courts where precision and consistency are key.
-
Rubber: Excellent for gymnasiums or multi-sport facilities where cushioning and durability are a priority.
-
PVC: Great for a low-maintenance, high-performance option suitable for both recreational and competitive play.
Select a flooring material that aligns with your priorities for aesthetics, durability, and functionality.
2. Measuring and Cutting Flooring Pieces
Once you’ve selected your flooring material, it’s time to measure and cut it to size. Measure the court area carefully, and use a chalk line to mark any necessary cuts or lines. For interlocking tiles, you’ll want to ensure a snug fit to avoid any gaps. Cutting PVC or vinyl material requires a sharp utility knife, while wood may require a saw for precision.
3. Installing the Flooring
-
Laying the First Section: Start by laying down your first piece of flooring at one end of the court. For interlocking tiles, align them properly and press them down securely. If you’re using adhesive, apply a thin, even layer to the subfloor before laying the tiles or planks.
-
Aligning and Spacing: Be sure to maintain proper alignment as you move across the court. Most indoor pickleball flooring comes with built-in spacers to ensure the correct distance between tiles or planks. Keep checking your alignment and adjust as needed.
-
Securing the Flooring: Depending on the material you choose, you may need to use adhesive or simply interlock the tiles. Follow the manufacturer’s instructions carefully to avoid damaging the flooring or subfloor.
4. Finishing Touches
-
Trimming and Securing the Edges: Once the main sections are installed, trim any excess flooring along the edges of the court. Use a straightedge to create clean lines, and secure the edges with adhesive or trim pieces.
-
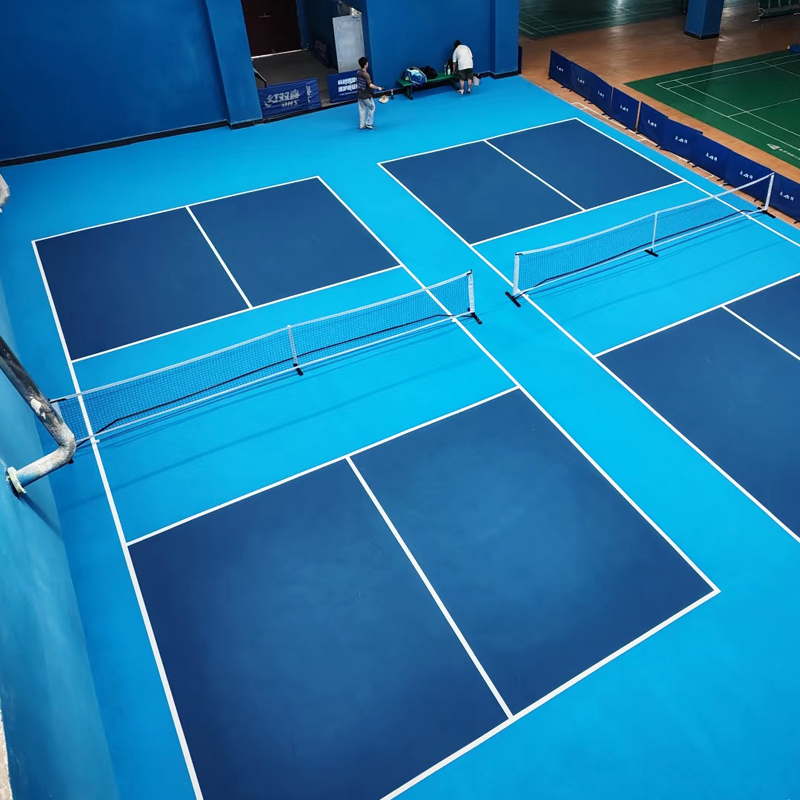
Marking the Court: After the flooring is fully installed, you can either apply court markings yourself or purchase pre-marked flooring. Court lines should be clearly visible and consistent with the official pickleball court layout.
-
Cleaning and Sealing: After installation, clean the surface to remove any debris or dust. Depending on the material, you may want to apply a sealant to enhance durability and prolong the lifespan of the flooring.
Common Mistakes to Avoid During Installation
While installing indoor pickleball flooring is straightforward, there are a few common mistakes that can impact the quality and longevity of the installation:
-
Inaccurate Measurements: Always double-check your measurements before cutting flooring pieces. Small errors can add up and result in gaps or uneven seams.
-
Improper Subfloor Preparation: Failing to clean and level the subfloor can lead to uneven surfaces, which will affect the performance of the flooring.
-
Incorrect Alignment: Misalignment during installation can create uneven court lines or result in the flooring popping out over time. Take your time to ensure everything is aligned correctly.
Maintaining Your Indoor Pickleball Flooring
Once your flooring is installed, maintenance is key to ensuring its longevity. Here are some tips:
-
Regular Cleaning: Sweep or vacuum the court regularly to remove dirt and debris. For deeper cleaning, use a mild detergent and a soft mop.
-
Periodic Inspections: Check the flooring for any signs of wear, such as peeling edges or loose tiles. Repair or replace damaged sections as needed.
-
Re-Sealing: Over time, the protective coating on your flooring may wear off. Reapply sealant to protect the surface and maintain its durability.
Conclusion
Installing indoor pickleball flooring may seem like a challenging task, but with the right preparation and materials, you can achieve professional-level results. By following the steps outlined in this guide, you’ll create a durable, high-performance court that enhances player experience and stands the test of time.