Pickleball has rapidly become one of the most popular recreational sports worldwide, and with its growing popularity, the need for well-designed, functional courts is also on the rise. Whether you’re constructing a new pickleball court or updating an existing one, understanding the official court dimensions and layout guidelines is crucial for an optimal playing experience. Accurate measurements ensure fair play, reduce injuries, and enhance the quality of each match.
DJSportfloor with years of expertise in manufacturing premium PVC sports court flooring, provides this authoritative guide on pickleball court size and layout. Trusted by professionals worldwide, DJSportfloor ensures quality and precision in every detail.
Official Dimensions of a Pickleball Court
The dimensions of a pickleball court are governed by the official standards set by the USA Pickleball Association (USAPA). The size of the court may vary depending on whether it’s used for singles or doubles play, but the overall measurements remain consistent to ensure fairness and balance in gameplay.
For singles play, the pickleball court should measure 20 feet wide by 44 feet long. This is the standard length and width for both recreational and competitive play. The doubles court has the same overall dimensions, but the width is shared between the two teams, allowing for more dynamic gameplay.
Key areas to be mindful of include:
Non-Volley Zone (Kitchen): This 7-foot area is crucial for gameplay, as players cannot hit the ball while standing in this zone unless the ball has bounced first. It must be positioned 7 feet from the net on both sides.
Service Areas: Divided by a centerline, the service area must be 10 feet long and extend from the baseline to the non-volley zone.
Baseline: This is the furthest line at the back of the court and runs parallel to the net. Players must serve from behind the baseline.
What is the height of a pickleball net?
The pickleball net height is slightly lower than tennis nets. USA Pickleball state that the net should be 34in (86.36cm/2.83ft) tall at the center and 36in (91.44cm/3ft) tall at the sidelines.
Another net dimension that is important to note is the net length should measure at least 21ft 9in (7.25 yards/6.63m) extending from one net post to the other. The net should be edged with a 2-inch-tall white tape binding over a cord or cable.
Key Zones and Line Markings Explained
A well marked pickleball court is fair, safe and consistent for every rally. Each line and zone has a purpose, a balance between fast play and strategy. According to international standards all lines and zones should be 2 inches (5 cm) wide and painted in a contrasting acrylic color to the court surface.
1. Baseline
The baseline runs parallel to the net at the back of the court, the limit of play. Players must stand behind the baseline when serving.
Measurement: 20 ft wide (6.10 m)
Tip: Leave 3–5 ft of safety run-off behind this line for smooth player movement.
2. Sidelines
Sidelines define the sides of the 20 × 44 ft playing rectangle.
Measurement: 44 ft (13.41 m)
Purpose: They mark in-bounds for both singles and doubles since pickleball uses the same width for both game formats.
3. Non-Volley Zone (Kitchen)
The non-volley zone, also known as the “kitchen”, is 7 ft (2.13 m) on each side of the net. Players cannot volley (hit the ball in the air) while standing in this area.
Why It Matters: This zone controls aggressive net play and fair, strategic rallies.
Marking Tip: Use textured acrylic paint to avoid fading under UV light.
4. Centerline
The centerline divides each side of the court into two equal service boxes — left and right.
Measurement: 15 ft long (4.57 m)
Purpose: Guides accurate serving and rotation between points.
Pro Tip: Extend the centerline 2 inches beyond the kitchen line for visibility during matches.
5. Service Courts
Each side has two service boxes, defined by the centerline, baseline and non-volley zone line.
Size: 10 ft × 15 ft each (3.05 m × 4.57 m)
Purpose: The ball must land diagonally across in the opponent’s service box after a serve.
Construction Tip: Make sure these zones are level for consistent bounce.
6. Net & Post Alignment
The net divides the court in half, at 36 inches (0.91 m) high at the sidelines and 34 inches (0.86 m) at the center.
Check: Posts should be outside the sidelines, not inside the 20 ft width.
Material: Powder-coated steel or aluminum posts with tension adjusters for Indian weather.
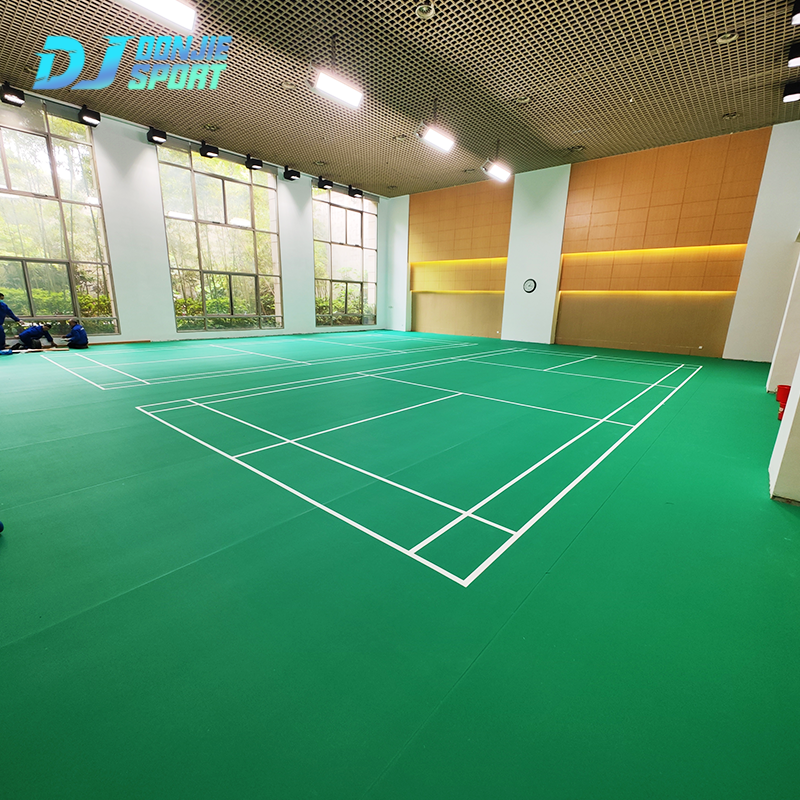
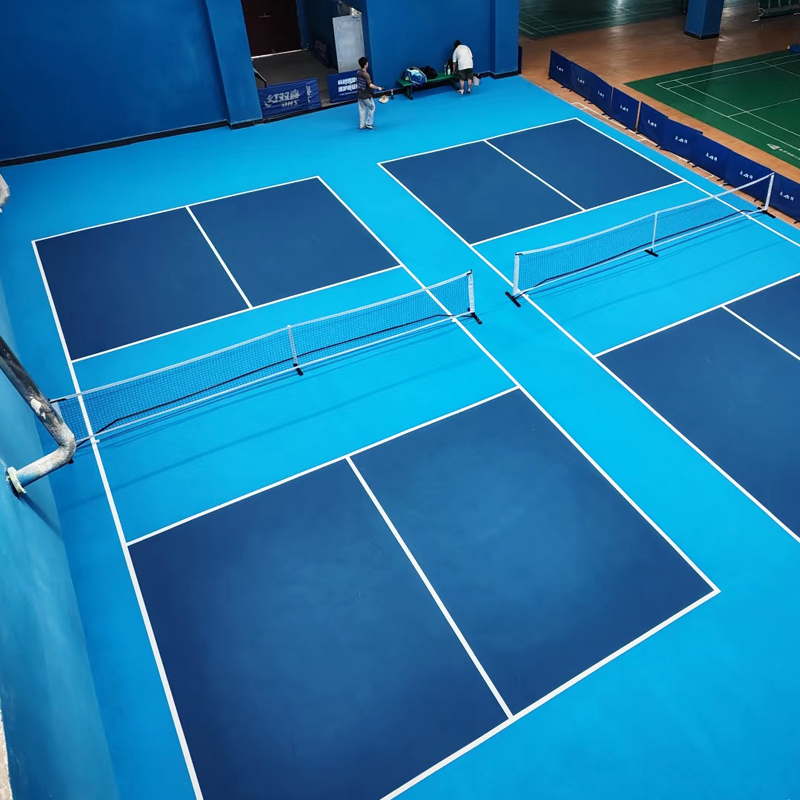
Choosing the Right Flooring for Your Pickleball Court
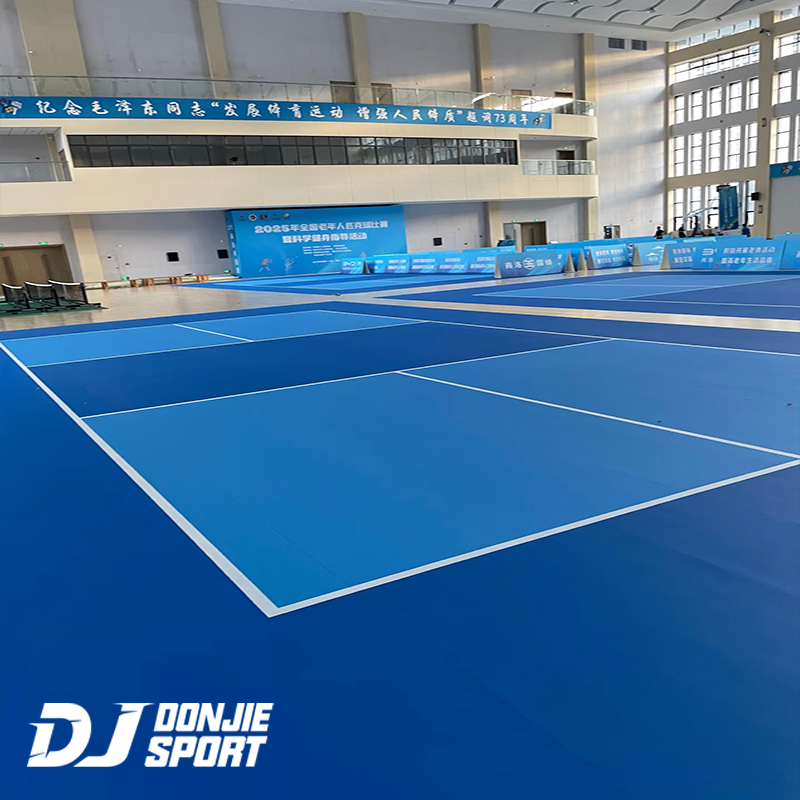
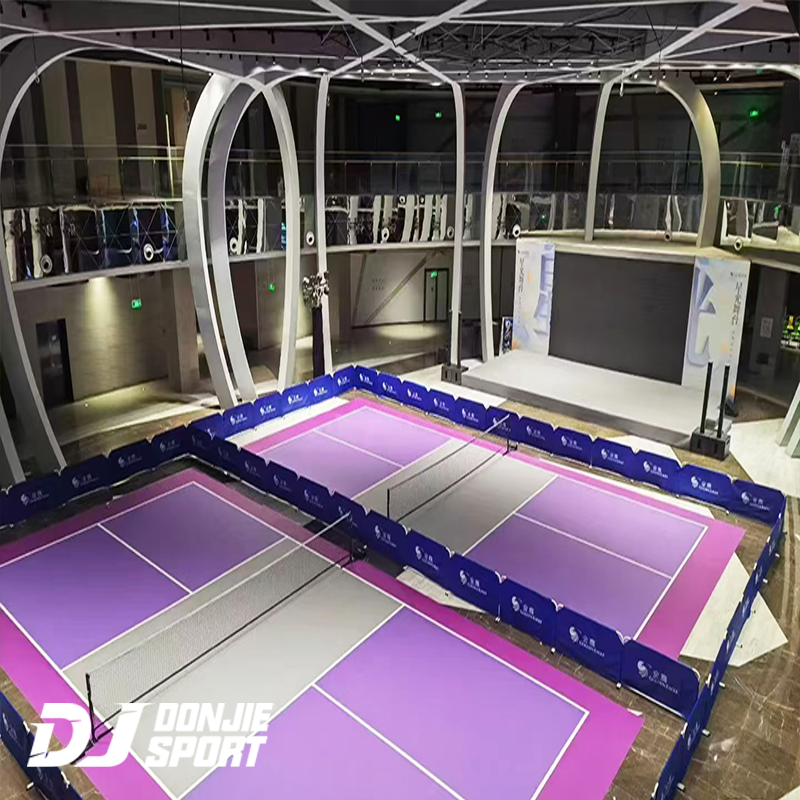
Now that we have a good understanding of the court dimensions, let’s dive into the material choices for flooring. While the hard court surface plays a vital role in gameplay, it also affects the overall longevity and maintenance requirements of the court. In recent years, PVC pickleball court flooring has emerged as one of the most preferred materials.
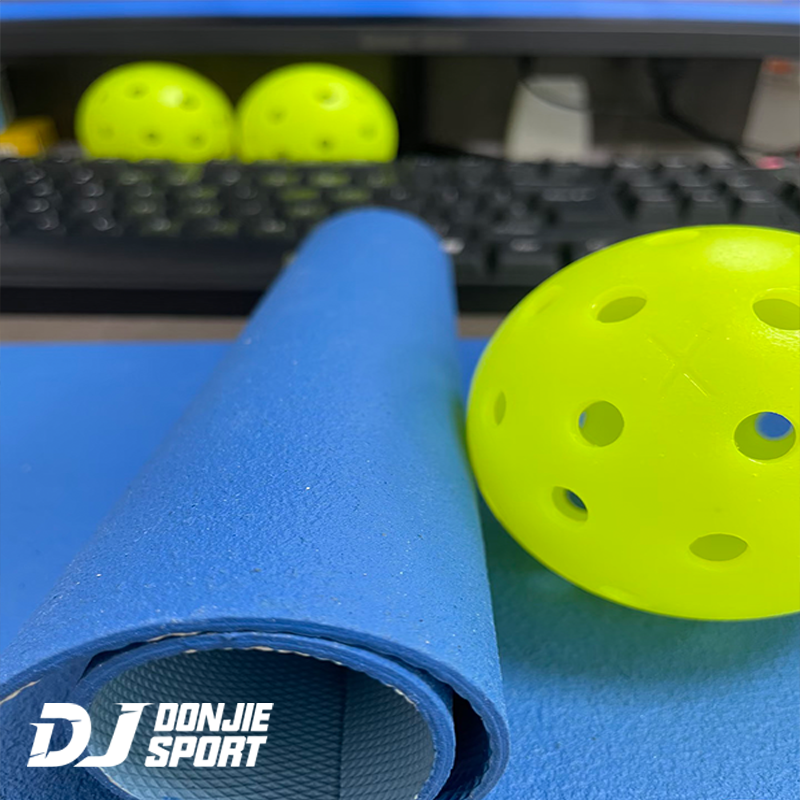
Durability: PVC flooring is renowned for its resilience, making it ideal for both indoor and outdoor environments. Its tough surface can withstand a variety of weather conditions, ensuring that the court remains playable for years to come.
Player Safety: The shock absorption properties of PVC flooring help minimize the risk of joint injuries during gameplay. This makes it an excellent choice for players who frequently engage in high-intensity matches.
Consistency of Play: PVC flooring provides a uniform surface that delivers consistent ball bounce and traction, leading to a more predictable and enjoyable playing experience.
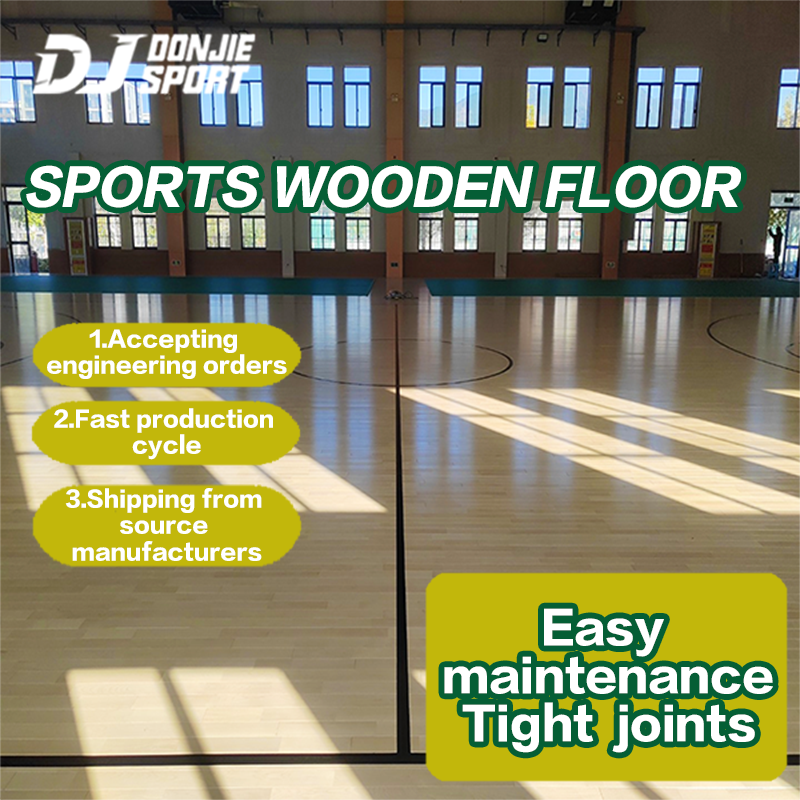
Comparison with Other Surfaces
Wooden Flooring is the best option for a high-quality, professional playing surface with excellent ball bounce, but it requires more maintenance and comes with a higher upfront cost.
PP Suspended Flooring offers a durable, low-maintenance alternative with easy installation, but it may lack the consistent ball bounce and aesthetic appeal of wood.
Asphalt is the most budget-friendly option, but it provides a hard, less comfortable playing surface with poor ball bounce, making it less suitable for indoor pickleball courts.
Understanding the Maintenance of Pickleball Courts with PVC Flooring
While PVC pickleball court flooring requires minimal maintenance, it’s still important to perform regular upkeep to ensure the court remains in optimal condition.
Regular Cleaning
To keep the court clean and free from debris, use a broom or a leaf blower to remove dust, dirt, and leaves. Occasionally, clean the surface with mild soap and water, especially if the court is located outdoors and exposed to environmental elements.
Inspection for Damage
Periodically inspect the flooring for any signs of damage. Look for loose tiles, cracks, or areas where the surface may be starting to peel. Address any issues immediately to avoid further damage, as untreated problems could lead to larger repairs.
Resealing and Re-coating
Depending on the level of use and the location of the court, the PVC surface may require resealing every few years. This helps maintain the integrity of the flooring and ensures the court’s smooth, safe surface.
Environmental Considerations
For sustainability, ensure that any cleaning agents or maintenance products used are environmentally friendly. As PVC is a durable material, it can often last for decades, minimizing the need for replacements and reducing waste.
PVC Pickleball Court Flooring Installation Process
Installing PVC flooring on a pickleball court requires careful planning and precision. The process involves preparing the base, laying the flooring, and ensuring that all the materials are correctly installed for maximum durability and performance.
Step 1: Preparing the Base
Before laying down the PVC flooring, you need to ensure that the ground is level and stable. This involves clearing the area of debris, rocks, and any vegetation. If you are installing an outdoor court, you’ll need to ensure proper drainage systems are in place to prevent water from pooling under the flooring. For indoor courts, a flat, clean concrete base is ideal.
Step 2: Laying the PVC Flooring
Once the base is prepared, the next step is to lay the PVC tiles or sheets. Most modern PVC flooring comes in interlocking tiles, making installation simpler and quicker. Begin from one corner and work your way across the court, ensuring that the edges align perfectly and there are no gaps. If necessary, use a utility knife to trim any edges that don’t fit snugly along the court’s perimeter.
Step 3: Securing the Tiles
While many interlocking tiles are designed to stay in place without adhesive, some installations may require additional bonding for extra security, especially in high-traffic areas. In these cases, a strong adhesive designed for use with PVC should be applied. Ensure that the adhesive is evenly spread and that the tiles are firmly pressed down to avoid shifting.
Step 4: Marking the Court Lines
Once the flooring is installed, the next step is to mark the official lines for the pickleball court. Many PVC flooring options come with pre-marked lines, but if not, you can use durable paint or adhesive vinyl strips to outline the boundaries for the non-volley zone, service area, baseline, and centerline.
Step 5: Inspection and Maintenance
Before the court is open for use, conduct a thorough inspection to make sure the flooring is smooth and secure. Ensure that there are no uneven spots, gaps, or curling edges, which could pose a tripping hazard. Once everything is secure, your PVC pickleball court is ready for play.
Creating the Ideal Pickleball Court for Performance and Longevity
To build a high-quality pickleball court, it’s essential to pay attention to the official dimensions and layout guidelines. Proper court measurements ensure that every match is fair and enjoyable for players of all levels. Equally important is selecting the right flooring material — PVC pickleball court flooring stands out due to its durability, player safety features, low maintenance, and cost-effectiveness. Whether you’re constructing a court for recreational play or competitive events, choosing PVC flooring will ensure that your court remains in excellent condition and provides a consistent, high-quality playing experience.