PVC sports flooring has become a top pick for indoor sports spaces, and for good reason. It offers unbeatable durability to withstand heavy foot traffic and equipment, excellent shock absorption to protect athletes’ joints, and hassle-free maintenance that saves time and effort over the long run. This guide focuses exclusively on roll-type PVC sports flooring— the most popular format for large, continuous sports areas—and is tailored to help you install it yourself, whether you’re upgrading an indoor gymnasium, a community basketball court, a local badminton court, or even a neighborhood pickleball court.
One of the biggest draws of DIY PVC sports flooring installation is cost savings. Hiring professional installers can add thousands of dollars to your project budget, especially for larger venues like indoor basketball courts. By taking on the installation yourself, you cut out labor costs while still achieving a high-quality result—provided you follow the right steps. This guide breaks down the entire process from start to finish, making it accessible even if you have little to no prior flooring installation experience. Whether you’re a sports facility manager, a community organizer, or a homeowner converting a space into a personal sports area, this guide will equip you with everything you need to install roll-type PVC sports flooring successfully.
Understanding Roll-Type PVC Sports Flooring: Key Features and Applications
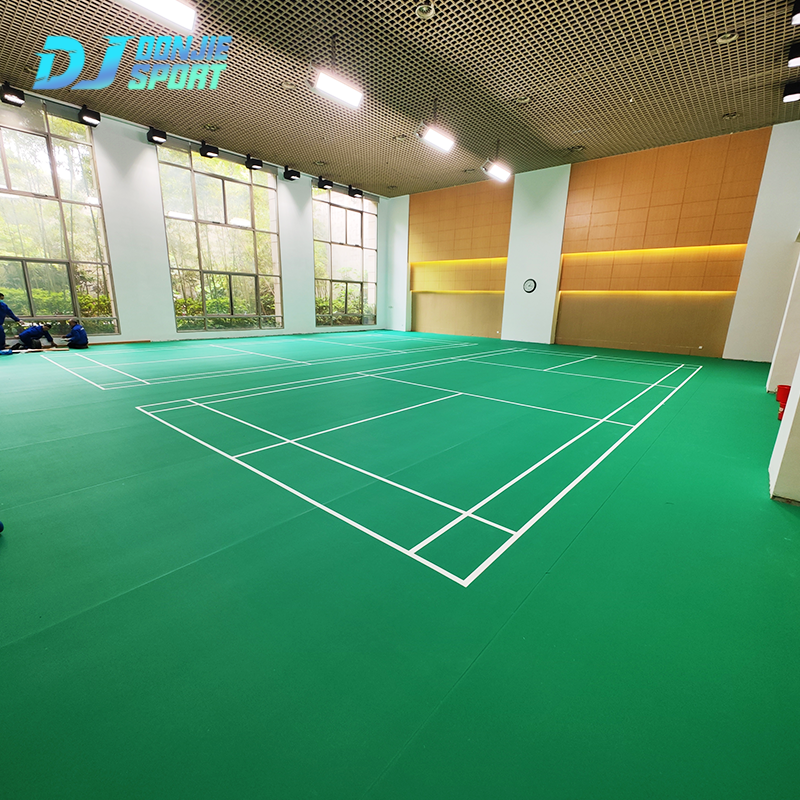
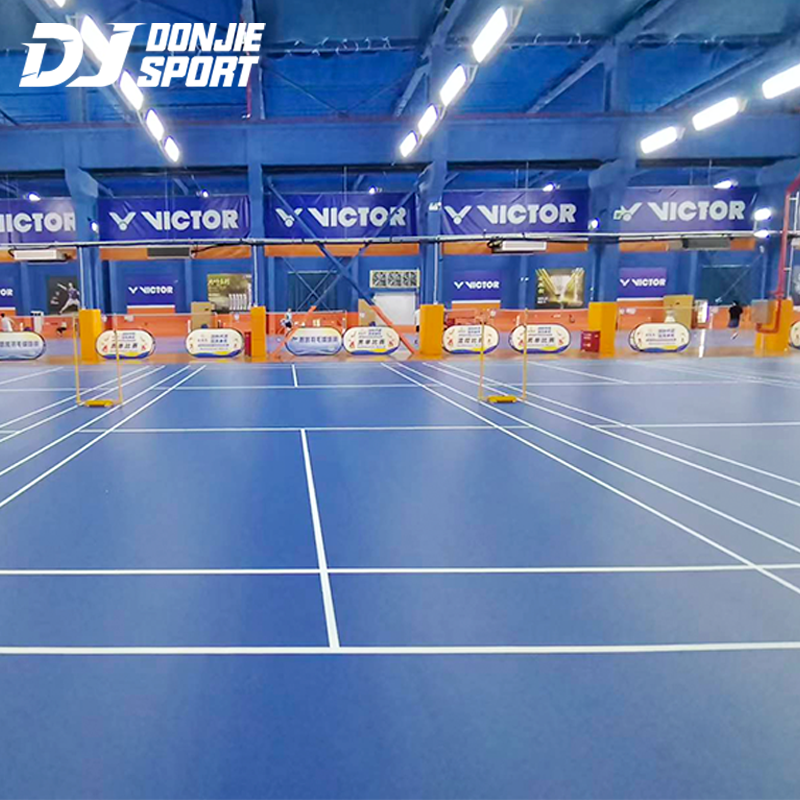
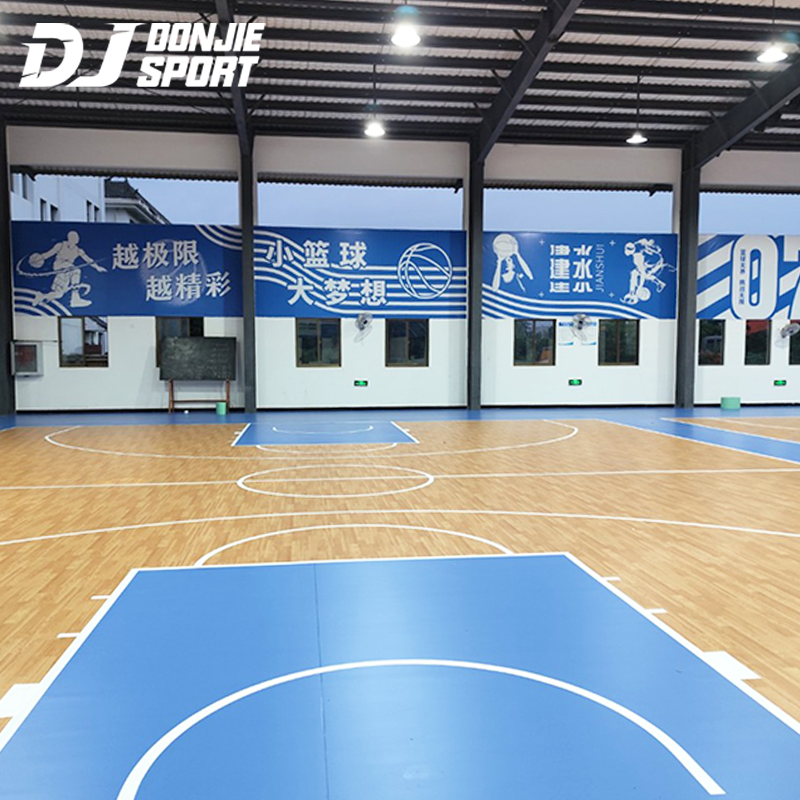
To install roll-type PVC sports flooring effectively, it’s first important to understand its structure and how it performs in different sports settings. Roll-type PVC sports flooring typically consists of three core layers: a top wear layer, a middle foam backing, and a bottom base layer. The wear layer is the outermost part, designed to resist scratches, scuffs, and impact from sports equipment—critical for high-use areas like indoor basketball courts. The foam backing provides shock absorption, which is essential for dance studios (where dancers spend hours on their feet) and badminton courts (where quick jumps and landings are common). The base layer ensures stability, keeping the flooring flat and preventing warping over time.
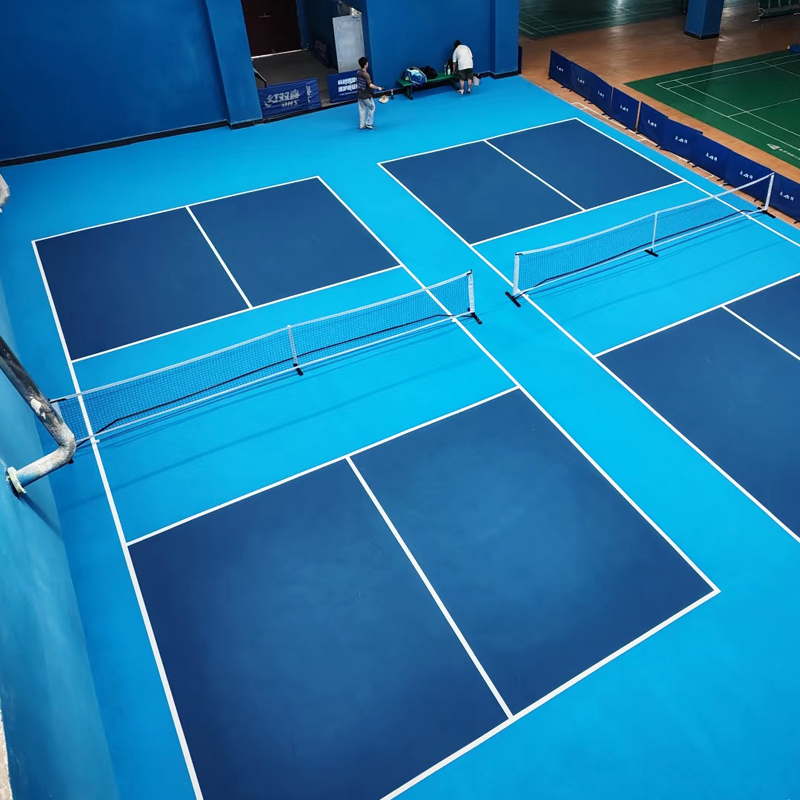
Each layer works together to make roll-type PVC sports flooring versatile for various indoor sports venues. For indoor basketball courts, the combination of the wear layer and foam backing delivers the perfect balance of ball bounce and grip—ensuring basketballs react consistently and players don’t slip during fast breaks. Badminton courts benefit from the flooring’s precise traction; the surface allows players to make quick lateral movements (like side steps to return a shuttlecock) without losing stability. Pickleball courts, which see frequent paddle impacts, rely on the wear layer’s durability to avoid damage from repeated hits. Dance studios, meanwhile, use the foam backing’s shock absorption to reduce strain on dancers’ knees, ankles, and hips during practice sessions.
Before purchasing roll-type PVC sports flooring, it’s important to check for quality indicators. Look for the flooring’s thickness—most sports-grade options range from 3mm to 8mm, with thicker options offering more shock absorption (ideal for dance studios or basketball courts). Verify the wear resistance rating; a higher rating means the flooring will last longer in high-traffic areas. Also, check for environmental certifications, such as low-VOC (volatile organic compound) labels, to ensure the flooring is safe for indoor use, especially in community spaces where children or sensitive individuals may spend time.
Pre-Installation Preparation: Gather Tools, Materials, and Inspect the Site
Proper preparation is the foundation of a successful DIY PVC sports flooring installation. Skipping this step can lead to uneven flooring, adhesive failure, or gaps—issues that will compromise the flooring’s performance and lifespan. Start by gathering all the essential tools you’ll need: a tape measure (for accurate space sizing), a sharp utility knife (for cutting the roll-type flooring), a straightedge (to ensure clean, straight cuts), a rubber mallet (for tapping edges into place), a regular trowel (for spreading floor leveling compound), a notched trowel (for applying adhesive), and a heavy-duty floor roller.
Next, collect your materials. The star of the project is, of course, roll-type PVC sports flooring—be sure to buy enough to cover your space, plus an extra 5-10% to account for cutting waste and potential mistakes. You’ll also need PVC sports flooring adhesive; choose a product specifically designed for roll-type sports flooring, as generic flooring adhesives may not hold up to the demands of sports use. If your subfloor has high humidity (common in basements or older indoor gymnasiums), pick up a moisture barrier to prevent adhesive breakdown. For uneven subfloors, a floor leveling compound is a must to create a smooth base.
Once you have your tools and materials, it’s time to inspect and prepare the installation site. Start by measuring the space—whether it’s an indoor badminton court, a pickleball court, or a gymnasium. Calculate the area (length x width) and use this to determine how many rolls of PVC sports flooring you need. For example, a standard badminton court is approximately 13.4m x 6.1m (81.74 square meters), so you’d need enough rolls to cover that area plus the 5-10% extra.
Next, check the subfloor’s condition. The subfloor (which can be concrete, wood, or even existing tile) must be flat, dry, and clean. Use a level to spot high or low areas; if differences exceed 3mm over a 2-meter span, apply floor leveling compound to even it out. Test for moisture using a moisture meter—concrete subfloors should have a moisture content of less than 4% (or follow the adhesive manufacturer’s guidelines). If moisture levels are too high, install a moisture barrier to protect the flooring from warping or mold growth.
Finally, clean the subfloor thoroughly. Sweep away loose dirt and debris, then vacuum to remove fine dust. For oil or grease stains (common in older gymnasiums), use a mild detergent and water to scrub the area—avoid harsh chemicals that could damage the subfloor. Let the subfloor dry completely before moving on; any moisture left behind can ruin the adhesive bond.
Step 1: Acclimate the Roll-Type PVC Sports Flooring to the Installation Environment
Acclimation is a critical step that many DIY installers skip—and it’s one of the main reasons flooring develops gaps or buckles later. Roll-type PVC sports flooring is sensitive to temperature and humidity changes; when it’s moved from a warehouse (where conditions may be cool and dry) to your installation site (like a warm indoor basketball court), it expands or contracts to adjust. If you install it before it acclimates, it will continue to shift after being glued down, leading to unsightly gaps or warped edges.
The acclimation process is simple, but it requires patience. Start by unrolling all your PVC sports flooring rolls in the installation area. Lay them flat, making sure they cover as much of the space as possible—don’t stack the rolls, as this can cause creases. Keep the room at a consistent temperature between 18-24°C (65-75°F) and humidity between 40-60% during acclimation; these are the “normal” conditions the flooring will experience once installed. If your space has heating or air conditioning, run it to maintain these levels.
Leave the flooring to acclimate for 24-48 hours. The exact time depends on the thickness of the flooring (thicker rolls may take longer) and how much the warehouse conditions differ from your site. Resist the urge to rush this step—even an extra 12 hours can make a big difference in the final result. During acclimation, avoid placing heavy objects on the flooring, as this can create permanent creases that are impossible to fix once installed.
Before moving to the next step, inspect the acclimated flooring. Check the edges of each roll for damage, like fraying or curling. Look for visible defects, such as discoloration or uneven thickness. If you spot any issues, contact your supplier immediately to request a replacement—installing damaged flooring will only lead to problems down the line. Once the flooring is acclimated and in good condition, you’re ready to prepare the subfloor for installation.
Step 2: Prepare the Subfloor for PVC Sports Flooring Installation
The quality of your subfloor directly impacts how well your roll-type PVC sports flooring performs. Even the best PVC flooring will fail if it’s installed on a uneven, dirty, or moist subfloor. The preparation process varies slightly depending on the type of subfloor you have, so follow these guidelines for concrete and wood—two of the most common subfloor materials in indoor sports spaces.
For concrete subfloors (typical in gymnasiums and basketball courts):
Repair cracks and holes first. Use a concrete patching compound that’s designed for indoor use. Apply the compound with a trowel, filling the defect completely and smoothing it out to match the surrounding surface. Let the compound dry fully—this usually takes 24-48 hours, but check the manufacturer’s instructions for exact timing.
Sand rough spots. Use a floor sander (or a handheld sander for small areas) to smooth out any protrusions or uneven surfaces. This ensures the PVC sports flooring lies flat and adheres evenly.
Clean again. After sanding, vacuum up all dust—even a thin layer can prevent the adhesive from sticking. Wipe the surface with a damp cloth to remove any remaining dust, then let the subfloor dry completely.
For wood subfloors (sometimes found in dance studios or smaller sports spaces):
Secure loose boards. Walk across the subfloor and listen for squeaks—these indicate loose boards. Use screws (not nails, which can work loose over time) to secure the boards to the joists below. Make sure the screw heads are countersunk (flush with the board surface) so they don’t poke through the PVC flooring.
Remove protruding nails or screws. Use a claw hammer or pliers to pull out any nails that are sticking up. For screws that can’t be countersunk, replace them with shorter ones.
Sand and level. Use a floor sander to smooth out any uneven areas or splinters. If the subfloor has large gaps between boards (more than 3mm), install a plywood underlayment. Cut the plywood to fit the space, leaving a 3mm gap between sheets for expansion, and secure it with screws.
Clean thoroughly. Vacuum the subfloor to remove dust, then wipe with a damp cloth and let dry.
If you tested the subfloor earlier and found high moisture levels, now is the time to install a moisture barrier. Roll the barrier out over the entire subfloor, making sure the edges overlap by 6-8 inches. Use moisture-resistant tape to seal the overlapping edges—this creates a seamless barrier that prevents moisture from rising into the PVC sports flooring. Let the barrier sit for a few hours to ensure it’s flat and secure before applying adhesive.
Step 3: Apply Adhesive and Position the First Roll of PVC Sports Flooring
Choosing the right adhesive is crucial—generic flooring adhesive won’t stand up to the wear and tear of sports use, like the constant foot traffic on a badminton court or the impact of basketballs. Look for an adhesive specifically labeled for roll-type PVC sports flooring. You’ll have two main options: solvent-based adhesive (which dries quickly and offers strong bond strength, ideal for high-traffic areas) and water-based adhesive (which is low-VOC and easier to clean up, better for smaller spaces or well-ventilated areas). Check the adhesive’s compatibility with your subfloor—some adhesives work best on concrete, while others are designed for wood.
Before applying adhesive, stir it thoroughly according to the manufacturer’s instructions. Many adhesives separate over time, so mixing ensures a uniform consistency that bonds evenly. Don’t thin the adhesive unless the instructions say to—thinning can weaken the bond.
Start applying adhesive to a small section of the subfloor (about 4-5 square meters) in one corner of the installation area. This small section ensures you can position the first roll before the adhesive dries—adhesive typically has a “open time” (the time it stays sticky) of 15-30 minutes, so working in small batches prevents waste. Use a notched trowel to spread the adhesive; the size of the trowel’s notches depends on the thickness of your PVC sports flooring—thicker flooring requires larger notches (usually 3mm-6mm) to apply more adhesive. Hold the trowel at a 45-degree angle and spread the adhesive in a smooth, even layer—avoid leaving globs or bare spots.
Now it’s time to position the first roll of PVC sports flooring. Unroll the roll partially, aligning one edge with the corner of the room (where the wall meets the floor). Make sure the roll is parallel to the walls—use a tape measure to check the distance from the roll’s edge to the wall at both ends; the measurements should be equal. Once aligned, slowly unroll the rest of the roll onto the adhesive.
As you lay the roll, use your hands to smooth out any air bubbles. Start from the center of the roll and work your way out to the edges—this pushes air toward the sides and prevents bubbles from getting trapped. Once the roll is fully laid, use a rubber mallet to tap the edges lightly. This ensures the flooring adheres firmly to the adhesive, especially along the edges where gaps are most likely to form.
Take a step back and inspect the first roll. Make sure it’s straight, flat, and free of bubbles. If you notice any issues, lift the affected area (while the adhesive is still wet) and reposition the roll. Once the first roll is in place and secure, you’re ready to install the next rolls.
Step 4: Install Subsequent Rolls of PVC Sports Flooring and Seal Seams
Installing subsequent rolls follows the same basic process as the first, but with extra attention to pattern matching (if your PVC sports flooring has a pattern) and seam alignment. Start by unrolling the second roll next to the first one. If the flooring has a pattern (like lines for a basketball court or a subtle texture), align the pattern so it matches the first roll perfectly—this creates a seamless look that’s essential for sports venues where visual consistency matters.
Leave a small gap (1-2mm) between the edges of the first and second rolls. This gap is called an “expansion gap” and allows the flooring to expand slightly with temperature changes, preventing buckling. Use a tape measure to ensure the gap is consistent along the entire length of the rolls.
Once the second roll is aligned, apply adhesive to the subfloor under it—again, working in 4-5 square meter sections. Unroll the second roll onto the adhesive, smooth out air bubbles with your hands, and tap the edges with a rubber mallet. Repeat this process for all remaining rolls until the entire installation area is covered. For larger spaces, like an indoor gymnasium, you may need to cut rolls to fit along the walls—wait until all full rolls are installed before making these cuts, as it’s easier to measure once the main area is covered.
Once all rolls are in place, it’s time to trim the excess flooring along the walls. Use a straightedge to guide your utility knife—hold the straightedge against the wall, leaving a 3-5mm gap between the straightedge and the wall (this is another expansion gap). Score the flooring with the utility knife, then fold the excess back and cut through the scored line. Take your time with these cuts—clean, straight edges ensure the flooring looks professional and fits snugly against the walls.
Next, seal the seams between the rolls. Seaming is critical for preventing moisture from seeping under the flooring and for keeping the rolls securely bonded together. Use a PVC sports flooring seam sealer—this is different from regular adhesive, as it’s designed to flex with the flooring and resist cracking. Apply the sealer to the 1-2mm gap between rolls using a small brush (like a paintbrush with a 10mm bristle width). Make sure the sealer fills the entire gap, and smooth out any excess with the brush—excess sealer can be wiped away with a damp cloth before it dries.
Let the seam sealer dry completely according to the manufacturer’s instructions. This usually takes 24-48 hours, but avoid walking on the seams during this time. Once the sealer is dry, the seams will be strong and invisible, creating a single, continuous surface that’s ready for sports use.
Step 5: Press and Secure the PVC Sports Flooring for Long-Term Stability
Even after laying the rolls and sealing the seams, there may still be small air bubbles or areas where the flooring isn’t fully bonded to the subfloor. Using a heavy-duty floor roller is the final step to ensure long-term stability—this tool applies even pressure across the flooring, pressing it firmly into the adhesive and eliminating any remaining air bubbles.
Choose a roller that weighs 20-30 kg—this weight is heavy enough to bond the flooring to the adhesive but not so heavy that it damages the flooring. Start rolling from the center of the installation area and work your way out to the edges. Roll in both directions: first lengthwise (along the length of the rolls) and then crosswise (perpendicular to the rolls). This crisscross pattern ensures every part of the flooring is pressed down evenly.
Pay extra attention to the seams. Roll over each seam multiple times (at least 3-4 times) to ensure the seam sealer is fully set and the seams are securely bonded. For areas along the walls, where the roller may not fit, use a smaller hand roller or press down firmly with your hands—make sure these edge areas are just as secure as the center.
After rolling, do a final check for stability. Walk slowly over the entire flooring surface, pressing down lightly with your feet. Feel for any loose areas or soft spots—these indicate that the flooring isn’t fully bonded to the adhesive. If you find a loose area, lift the flooring slightly (if the adhesive is still tacky) and apply a small amount of additional adhesive. Press the flooring back down and roll over it again with the heavy roller.
Check for air bubbles too. If you see a bubble, use a utility knife to make a small X-shaped cut in the center of the bubble. Gently press down on the flooring to release the air, then apply a drop of adhesive into the cut. Press the flooring back down and use a roller to seal the area. Wipe away any excess adhesive with a damp cloth.
Once you’ve checked the entire surface and fixed any issues, let the flooring sit undisturbed for 24 hours. This gives the adhesive and seam sealer one final chance to cure fully, ensuring the flooring is stable and ready for use.
Step 6: Clean and Maintain the Newly Installed PVC Sports Flooring
Proper cleaning and maintenance will keep your roll-type PVC sports flooring looking new and performing well for years—whether it’s in a high-use basketball court or a busy dance studio. Start with immediate post-installation cleaning to remove any leftover adhesive residue, dust, or debris from the installation process. Grab a damp mop (avoid soaking it) and use plain warm water or a mild, pH-neutral cleaner specifically formulated for PVC sports flooring. Harsh chemicals like bleach, ammonia, or oil-based cleaners can break down the wear layer over time, leading to discoloration and reduced durability—so steer clear of these entirely. For tough adhesive spots, gently scrub with a soft-bristle brush instead of an abrasive pad, which can scratch the surface.
Once the initial cleaning is done, establish a regular maintenance routine tailored to the specific sports venue. For indoor basketball courts, daily sweeping or vacuuming (with a soft brush attachment) is a must to remove dirt, dust, and small debris that can act like sandpaper and scratch the flooring during gameplay. A weekly damp mop with a PVC-friendly cleaner will keep the surface shiny and free of sweat or spills. Avoid using wax-based products here—they can make the floor slippery, increasing the risk of player injuries during quick cuts or jumps.
Badminton courts, which see frequent lateral movements, benefit from even more frequent spot cleaning. Wipe up any sweat, water, or beverage spills immediately with a clean cloth to prevent staining or slipping. Every two weeks, do a full mop with a mild cleaner, and once a month, inspect the seams for any signs of wear or debris buildup—small particles trapped in seams can eventually cause the sealer to crack.
Dance studios, where the flooring is in constant contact with dancers’ shoes and bodies, require gentle but regular care. After each class, use a dry microfiber mop to pick up loose dust and skin flakes. Every two to three months, do a deep clean with a recommended PVC cleaner to remove any buildup of body oils or dancewear residues. Never drag heavy equipment like ballet barres or storage racks across the floor—always lift them to avoid creating permanent scratches.
For minor damages like small scratches or cuts (common in high-traffic areas), invest in a PVC sports flooring repair kit. These kits typically include a color-matched filler and a smoothing tool, allowing you to fill the damage and blend it seamlessly with the surrounding flooring. For larger issues—like a torn seam or a warped section—it’s best to consult a professional installer, as improper repairs can worsen the problem and shorten the flooring’s lifespan.
Troubleshooting Common Issues During DIY PVC Sports Flooring Installation
Even with careful preparation, DIY PVC sports flooring installation can hit snags—but most issues are easy to fix if addressed quickly. Let’s break down the most common problems and how to resolve them, whether you’re installing in a pickleball court or a community gymnasium.
Air bubbles under the flooring are one of the most frequent issues, and they usually happen due to rushing the adhesive application or failing to smooth the flooring properly. If you notice a bubble after laying a roll, don’t panic. First, check if the adhesive is still wet—if it is, use a utility knife to make a small X-shaped cut in the center of the bubble. Gently press down on the flooring to release the trapped air, then apply a tiny amount of extra adhesive into the cut using a small brush. Press the flooring back down firmly and roll over the area with a heavy roller to ensure it bonds. If the adhesive has already dried, you may need to lift the edge of the flooring slightly (use a putty knife to avoid damage) to apply fresh adhesive before pressing and rolling again.
Uneven seams often occur when the subfloor isn’t perfectly flat or when the rolls aren’t aligned correctly. If you notice a seam that’s raised or gapped, start by checking the subfloor underneath—use a level to see if there’s a low spot causing the issue. If the subfloor is uneven, you may need to lift the flooring, apply a small amount of floor leveling compound to the low area, and let it dry before re-laying the roll. If the subfloor is flat, the problem is likely misalignment. Use a rubber mallet to gently tap the edges of the rolls together, then apply a small amount of extra seam sealer to fill any gaps. Roll over the seam multiple times to ensure a tight bond.
Flooring curling at the edges is usually a sign of insufficient acclimation or improper adhesive coverage. If the edges start to curl after installation, first check if the flooring was acclimated for the full 24-48 hours. If not, leave the room at a consistent temperature and humidity for another 12 hours—sometimes the flooring just needs more time to stabilize. If acclimation isn’t the issue, lift the curled edge slightly and check the adhesive underneath. If there’s a bare spot, apply a thin layer of adhesive with a notched trowel, press the edge down firmly, and secure it with heavy objects (like books or weights) for 24 hours to ensure it bonds.
Adhesive failure—where the flooring starts to lift from the subfloor—can be caused by high moisture levels or using the wrong adhesive. First, test the subfloor moisture again with a meter. If moisture is the culprit, you’ll need to lift the affected section of flooring, install a moisture barrier over that area, and reapply adhesive before laying the flooring back down. If the adhesive was incompatible with your subfloor (e.g., using wood-floor adhesive on concrete), remove all the old adhesive with a scraper (be gentle to avoid damaging the subfloor), then apply a new, subfloor-specific adhesive and re-lay the flooring.
Enjoy Your DIY-Installed PVC Sports Flooring
Congratulations—you’ve successfully installed roll-type PVC sports flooring by yourself! By following the steps in this guide—from pre-installation preparation and acclimation to seaming and final pressing—you’ve created a durable, high-performance surface that’s perfect for indoor gymnasiums, basketball courts, badminton courts, pickleball courts, or dance studios. The best part? You saved money on professional labor while gaining the satisfaction of knowing you built a space that will serve athletes, dancers, and community members for years to come.
Remember, the key to your flooring’s longevity is regular maintenance. Stick to the cleaning routines tailored to your venue, address small damages quickly, and avoid harsh products that can harm the wear layer. Over time, you’ll notice how well the PVC sports flooring holds up to heavy use—whether it’s handling the impact of basketballs, the quick steps of badminton players, or the repeated movements of dancers.
This DIY project isn’t just about installing flooring—it’s about investing in a space that brings people together. Whether you’re hosting a pickup basketball game, a badminton tournament, or a dance class, your newly installed PVC sports flooring will provide a safe, reliable surface that enhances every activity. So grab your sports gear, invite friends or community members over, and enjoy the fruits of your hard work!