When it comes to basketball, the right flooring is essential not only for the aesthetic of the court but also for enhancing the overall performance of players. Properly installed basketball court flooring directly impacts the safety of athletes, the quality of play, and even the longevity of the court itself. Whether you’re building a court for a professional facility, a school gym, or your own home, knowing how to install basketball court flooring correctly will ensure that it can withstand the demands of rigorous use and provide a top-notch playing experience.
In this guide, we’ll walk you through the entire process of installing basketball court flooring, from selecting the best material to following the steps for optimal performance. By the end of this article, you’ll have the knowledge to create a floor that elevates gameplay while standing the test of time.
Why Basketball Court Flooring Matters for Performance
The performance of a basketball court goes far beyond just its visual appeal. A well-chosen and correctly installed flooring system plays a crucial role in ensuring that the court meets the demands of the sport. Here are a few reasons why the right flooring is vital for performance:
-
Player Safety and Injury Prevention: Basketball is a high-intensity sport, and the surface players interact with affects their risk of injury. For instance, hardwood floors offer better shock absorption than concrete, reducing the impact on joints during jumps and quick movements. High-quality synthetic options like vinyl or rubber also provide cushioning that helps reduce the risk of ankle and knee injuries.
-
Ball Bounce and Movement: The consistency of the floor’s surface affects the bounce and roll of the basketball. Hardwood courts, especially those made from maple, are designed to offer the ideal balance of smoothness and grip for consistent ball behavior. Synthetic floors can be customized to achieve similar characteristics.
-
Aesthetic Appeal: The appearance of the court influences not just its look but also the playing experience. A clean, well-maintained court that’s visually pleasing can motivate players, create a better atmosphere for the game, and improve the overall energy of a facility.

Choosing the Right Type of Basketball Court Flooring
When it comes to basketball court flooring, selecting the right material is critical for both performance and durability. There are various options available, each offering unique advantages. The most common flooring materials used for basketball courts include hardwood, rubber, vinyl, and synthetic options. Here’s a closer look at each:
-
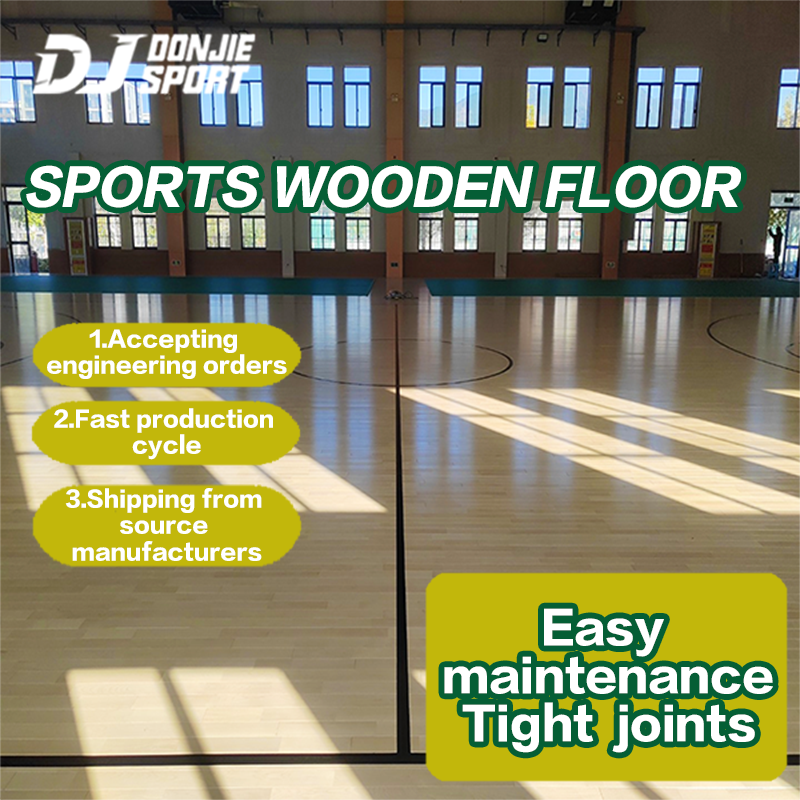
Hardwood Flooring
Hardwood, especially maple, is the traditional choice for professional basketball courts and offers unparalleled performance benefits. Known for its smoothness, durability, and aesthetic appeal, hardwood courts provide the ideal surface for ball bounce and player movement. Maple hardwood flooring also offers excellent shock absorption, which is essential for reducing stress on players’ joints. However, hardwood requires regular maintenance to prevent wear and tear, and it’s often more expensive to install. -
Rubber Flooring
Rubber is a popular choice for indoor basketball courts due to its durability and slip-resistant properties. It offers good shock absorption, making it ideal for recreational and home gym setups. Rubber flooring is often less expensive than hardwood but may not provide the same level of ball bounce or professional-grade performance. -
Vinyl Flooring
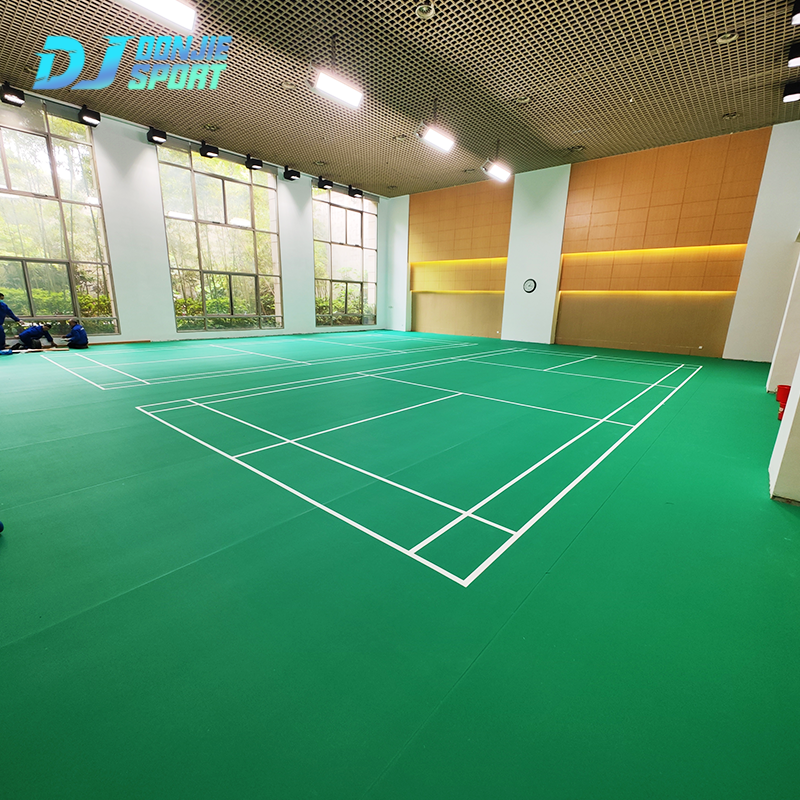
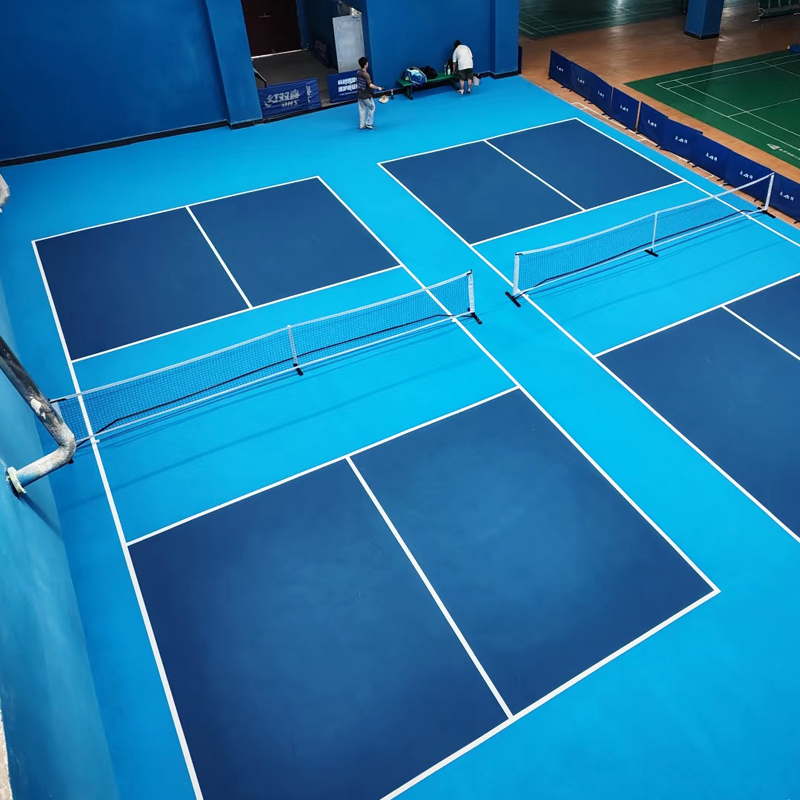
Vinyl is an affordable and durable option often used in schools, gyms, and sports facilities. It can be customized in terms of color and design and provides a softer surface that’s comfortable for players. While vinyl doesn’t have the same traditional feel as hardwood, it can still offer a decent bounce and traction for casual play. -
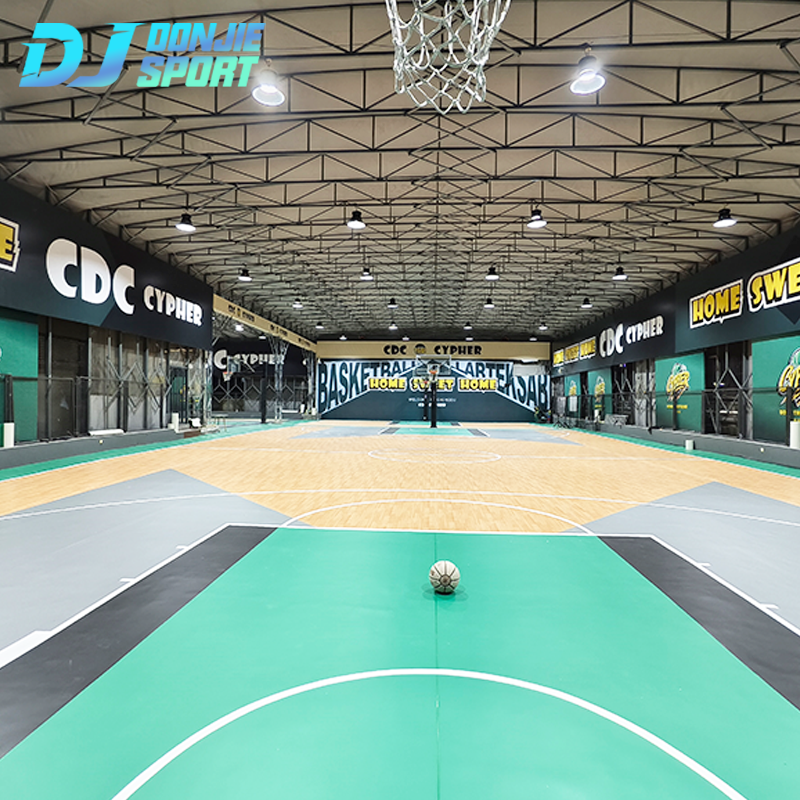
Synthetic Flooring
Synthetic materials, such as polyurethane or PVC, are engineered for maximum performance. These floors are often used in multi-purpose sports courts due to their versatility. Synthetic flooring options offer excellent durability and consistent performance, making them a solid choice for basketball courts that need to endure heavy use.
Preparing the Subfloor for Installation
Before you begin installing your basketball court flooring, it’s crucial to prepare the subfloor properly. A level and smooth subfloor ensures that the top layer of flooring is installed correctly, preventing uneven surfaces that could affect performance.
-
Check for Moisture
Moisture can cause floorboards or tiles to warp, leading to uneven surfaces. It’s important to test for moisture levels in the subfloor before installation, especially if you’re installing over concrete. A moisture barrier can help prevent long-term damage and maintain the integrity of the floor. -
Leveling the Subfloor
Ensure that the subfloor is completely level. Any bumps, dips, or imperfections will be magnified once the flooring is installed, affecting both performance and durability. Use self-leveling compound if necessary to smooth out any low spots. -
Clearing the Area
Clean the subfloor area thoroughly before installation. Remove any debris, dust, or existing flooring remnants that could interfere with the adhesive or flooring material. -
Gather Tools and Materials
For most basketball court flooring installations, you’ll need a variety of tools, including a measuring tape, utility knife, adhesive (for vinyl or rubber), nails or screws (for hardwood), and a roller for pressing down tiles or planks. Having everything prepared will ensure a smooth installation process.
Step-by-Step Guide to Installing Basketball Court Flooring
Now that your subfloor is ready, it’s time to begin installing the basketball court flooring. The process can vary depending on the material you’re using, but here’s a general guide:
1. Measuring and Marking the Court Area
Before you lay down any flooring, ensure that the space is measured and marked correctly. Use a measuring tape to calculate the dimensions of the basketball court according to regulation standards, or based on the space you have available. Mark the boundaries clearly, as this will guide the placement of flooring tiles or planks.
2. Laying Down the Flooring Material
If you’re installing hardwood flooring, begin by placing the planks along the longest wall and work your way across the room. For vinyl or rubber flooring, roll out the material in sections. Lay the flooring in the direction that provides the most natural flow to the room, often along the length of the court. Ensure that each piece of flooring fits tightly next to the other, with no gaps between the boards or tiles.
3. Securing the Flooring
For hardwood, use nails or screws to secure each plank to the subfloor. If you’re using vinyl or rubber flooring, apply a layer of adhesive to the subfloor and press the material down with a roller to eliminate air pockets. Ensure that the adhesive is spread evenly to avoid bubbles or wrinkles.
4. Finishing Touches
Once the floor is laid, it’s time to add the finishing touches. Install the court markings, which include the free-throw line, three-point arc, and other court dimensions. For hardwood courts, you may want to apply a protective finish or sealant to protect the wood from wear. If you’re installing a multi-purpose synthetic floor, ensure all seams are sealed and trimmed neatly.
Common Mistakes to Avoid When Installing Basketball Court Flooring
Installing basketball court flooring may seem straightforward, but there are common pitfalls that can lead to problems down the road. Here are some mistakes to avoid:
-
Neglecting Subfloor Preparation
One of the most critical steps in installation is preparing the subfloor. Skipping this step can result in a poorly installed court that is uneven and unstable. Always ensure the subfloor is level, dry, and free of debris before installation. -
Using the Wrong Adhesive or Fasteners
Different flooring materials require specific adhesives or fasteners. Be sure to use the recommended products for your chosen flooring material to prevent slipping, shifting, or damage over time. -
Failing to Account for Expansion
Wooden floors expand and contract with changes in temperature and humidity. When installing hardwood flooring, leave an expansion gap along the edges to prevent the floor from buckling.
Maintenance Tips for Long-Lasting Performance
Maintaining your basketball court flooring is key to ensuring its longevity and performance. Regular cleaning, sealing, and refinishing can help preserve the floor and keep it in top condition for years to come.
-
Cleaning
For hardwood floors, use a dust mop or vacuum to remove dirt and debris. Avoid using harsh chemicals that could damage the wood. For vinyl or rubber flooring, sweep regularly and use a mild detergent to clean the surface. -
Refinishing Hardwood Floors
Hardwood floors will require periodic refinishing to maintain their smooth surface and appearance. Sanding down the surface and applying a fresh coat of polyurethane can help restore the floor’s shine and durability. -
Protecting the Floor
To avoid scratches and damage, encourage players to wear proper footwear and avoid dragging heavy objects across the floor. Use mats or protective covers in high-traffic areas.
Conclusion
Installing basketball court flooring is a significant investment that pays off in terms of performance, player safety, and the longevity of the court itself. By choosing the right material, preparing the subfloor properly, and following the correct installation process, you can ensure that your court provides the optimal playing surface for years to come.
Whether you’re installing hardwood or synthetic flooring, careful attention to detail during the installation process and regular maintenance will help keep your court in tip-top shape, ensuring maximum performance for every game played.