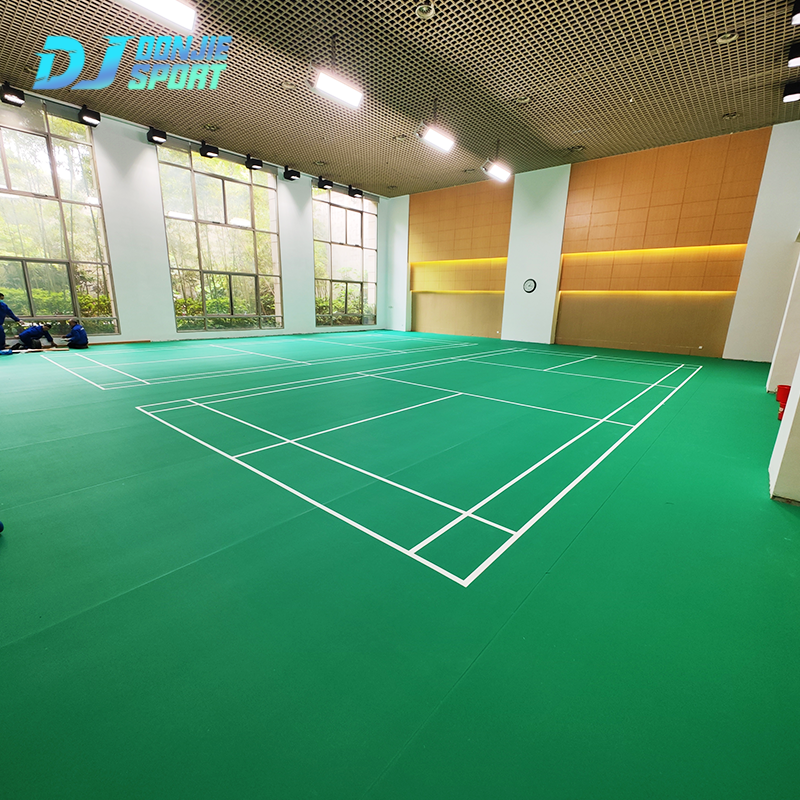
When it comes to creating the perfect playing environment for badminton, the choice of flooring plays a crucial role. Badminton court flooring is designed to provide a safe, durable, and responsive surface that enhances player performance and ensures a long-lasting court. Among the many options available, synthetic badminton court flooring has become a popular choice due to its low maintenance, durability, and consistent performance.
Whether you are installing a court for a professional sports facility, a school gym, or a recreational space, knowing how to properly install synthetic flooring is essential for ensuring that your court meets safety standards and provides optimal playing conditions. In this guide, we will take you through each step of the installation process, from preparing the site to the final touches that will make your badminton court a top-tier facility.
Preparing the Site for Installation
Before you begin installing synthetic badminton court flooring, it’s essential to ensure that the site is prepared adequately. Proper preparation will guarantee a smooth and durable finish that will withstand the test of time. Here are the key steps for preparing the site:
Step 1: Assessing the Space for Badminton Court Flooring
The first step in the installation process is to assess the size and condition of the space where the badminton court will be located. This involves measuring the total area and ensuring that the dimensions are suitable for a standard badminton court (44 feet by 20 feet for doubles or 44 feet by 17 feet for singles). Also, check for any obstructions like pillars, walls, or uneven surfaces that could impact the installation process.
Step 2: Cleaning and Leveling the Subfloor
The subfloor needs to be completely clean and level before laying any synthetic flooring material. Sweep the floor to remove dirt, dust, and debris. For concrete subfloors, any cracks or irregularities must be filled in to create a smooth, even surface. This step is crucial because an uneven subfloor can cause issues with the flooring installation and its long-term performance.
Step 3: Measuring and Marking Court Dimensions
Once the subfloor is clean and level, measure and mark the court’s boundaries accurately. Use a chalk line or laser level to ensure that all markings are straight and true. This will help guide the installation of the flooring tiles or rolls and ensure that the finished court has the proper dimensions.
Materials and Tools Needed for Installation
To install synthetic badminton court flooring, you will need specific materials and tools. Here’s a breakdown of what you’ll need:
Types of Synthetic Flooring Materials for Badminton Courts
-
PVC Flooring: Polyvinyl chloride (PVC) flooring is one of the most common types of synthetic flooring used for badminton courts. It is durable, slip-resistant, and provides good shock absorption.
-
Rubber Flooring: Some courts opt for rubber-based synthetic flooring. It offers excellent durability and grip, making it a popular choice for multi-purpose sports courts.
-
Vinyl Sports Flooring: Another option is vinyl sports flooring, which provides a smooth and resilient surface for fast-paced games like badminton.
Essential Tools and Equipment for the Installation Process
-
Measuring Tape: To measure the area and ensure precise cuts.
-
Utility Knife: Used to cut the flooring material to the required size.
-
Rubber Mallet: For gently tapping the tiles or rolls into place without damaging the material.
-
Leveling Tools: To ensure the subfloor is completely level.
-
Adhesive or Double-Sided Tape: Depending on the type of synthetic flooring, you may need adhesive or double-sided tape to secure the flooring.
Installing the Base Layer
The base layer is crucial for the overall performance and longevity of the synthetic badminton court flooring. Here’s how to install it:
Step 1: Laying the Underlayment for Synthetic Badminton Court Flooring
Start by unrolling or positioning the underlayment material on the subfloor. This base layer helps provide additional shock absorption, reduces sound, and ensures the flooring is stable. Ensure that the underlayment is smooth, level, and free of wrinkles before proceeding.
Step 2: Ensuring Proper Adhesion and Leveling of the Base Layer
Once the underlayment is in place, secure it to the subfloor using appropriate adhesive or double-sided tape. Smooth out any air pockets or bumps to ensure an even, flat surface. This step will prevent the base layer from shifting or moving after the synthetic flooring is installed.
Installing the Synthetic Flooring Tiles or Rolls
Now comes the main part of the installation: laying down the synthetic badminton court flooring itself. Whether you are using rolls or tiles, the process is quite similar:
Step 1: Unrolling or Positioning the Flooring Tiles
If you are using rolls of synthetic flooring, begin unrolling the material across the court, ensuring that it aligns with the marked boundaries. For tile-based flooring, start by placing the first tile in one corner of the court and work your way across, ensuring each tile fits snugly against the next.
Step 2: Cutting and Fitting the Flooring to the Court’s Dimensions
After laying the first few rows, you will need to cut the flooring material to fit the court’s dimensions. Use a utility knife to make precise cuts along the edges. Be sure to leave a small gap (about 1/8 inch) along the walls to allow for expansion.
Step 3: Securing the Flooring and Ensuring Proper Alignment
Once all the flooring tiles or rolls are in place, use a rubber mallet to gently tap the edges into position. This will help ensure that the tiles are tightly interlocked and aligned. If necessary, use adhesive or double-sided tape to secure the edges and prevent any shifting over time.
Finishing Touches
The final steps in the installation process involve trimming, marking the court lines, and making sure the flooring is securely in place.
Step 1: Trimming Excess Flooring Material
Trim any excess flooring material around the edges of the court using a sharp utility knife. Be careful to ensure clean, straight cuts for a polished, professional appearance.
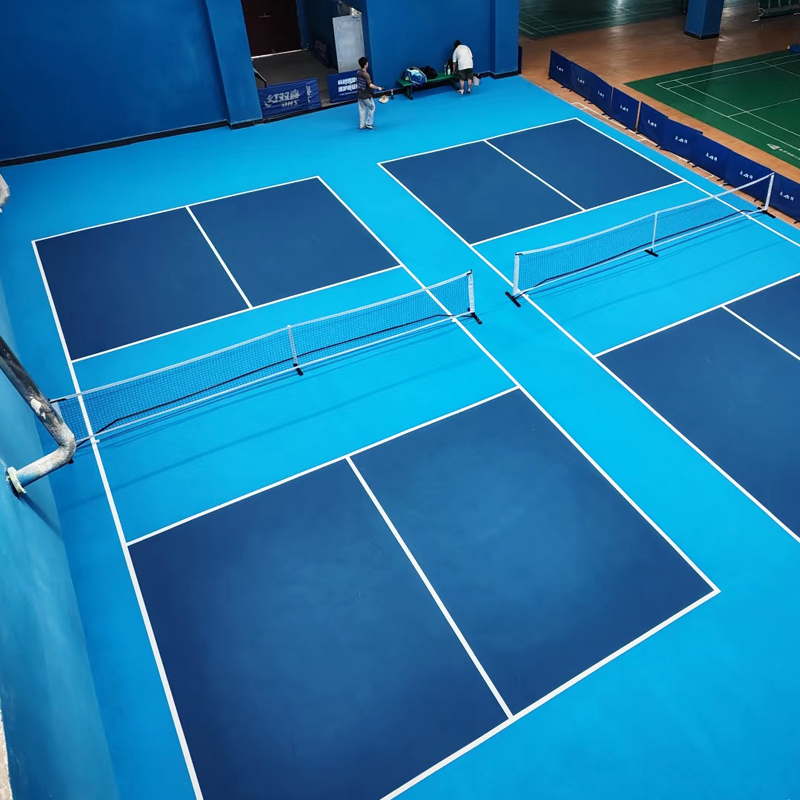
Step 2: Adding Court Markings and Logos
If you are installing a professional-grade badminton court, now is the time to add the necessary court markings and logos. Use a durable paint or adhesive tape designed for sports courts to mark the lines for singles, doubles, and center service areas.
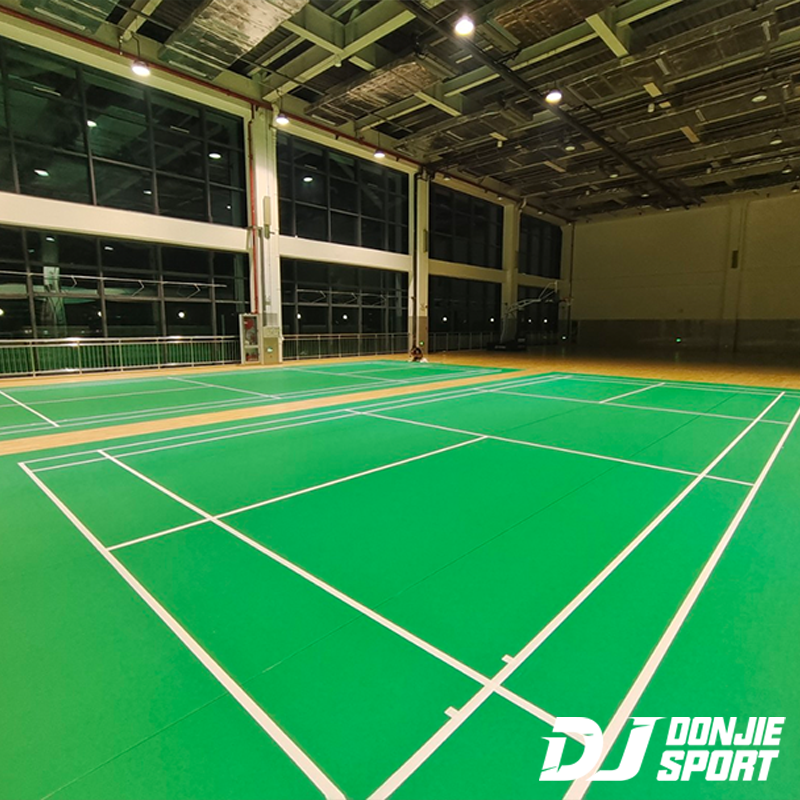
Step 3: Inspecting and Testing the Court’s Surface for Quality
Once the installation is complete, inspect the surface to ensure that there are no uneven areas or gaps between tiles. Test the flooring by walking across it and performing a few badminton moves to ensure the surface is smooth and provides the desired performance.

Maintenance and Care Tips for Synthetic Badminton Court Flooring
To ensure the longevity and quality of your synthetic badminton court flooring, it’s essential to maintain it regularly:
-
Daily and Weekly Cleaning Routines: Sweep the court regularly to remove dust and dirt. Use a mild detergent and water to clean the surface once a week. Avoid using harsh chemicals that could damage the flooring.
-
Handling Wear and Tear: Inspect the flooring for any signs of wear or damage, such as cracks or tears. Address these issues promptly to prevent them from worsening.
-
Periodic Inspections for Longevity: Conduct routine checks to ensure that the flooring is securely in place and that there are no signs of lifting or shifting. A quick inspection can help catch issues early and prevent costly repairs later.
Conclusion
Installing synthetic badminton court flooring is a straightforward process, but it requires attention to detail and careful preparation. By following the step-by-step guide provided, you can ensure that your court is not only visually appealing but also offers a high-performance surface for players. Proper installation will maximize the flooring’s durability and maintain its high-quality performance for years to come.
With the right materials, tools, and a little patience, you’ll have a professional-grade badminton court ready for action. Always keep up with routine maintenance to ensure your synthetic badminton court flooring stays in top condition, providing a safe and enjoyable experience for all players.