When it comes to building or refurbishing a volleyball court, one of the most critical elements to consider is the flooring. High-quality volleyball court flooring tiles not only ensure the safety and comfort of players but also enhance the overall aesthetics and durability of the court. Choosing the right flooring system is essential for both indoor and outdoor volleyball courts, and understanding how to install these flooring tiles can make all the difference in creating a professional-level court.
In this article, we’ll guide you through the process of installing volleyball court flooring tiles like a pro, covering everything from choosing the right materials to the step-by-step installation process and post-installation maintenance. Whether you’re building a new court or upgrading an existing one, this guide will provide all the information you need to achieve a flawless finish.
Section 1: Understanding Volleyball Court Flooring Tiles
Before diving into the installation process, it’s important to understand the different types of volleyball court flooring tiles available on the market. Each type of flooring tile has its own unique benefits and characteristics, so choosing the right one will depend on the type of volleyball court you’re working on (indoor or outdoor), as well as your budget and preferences.
-
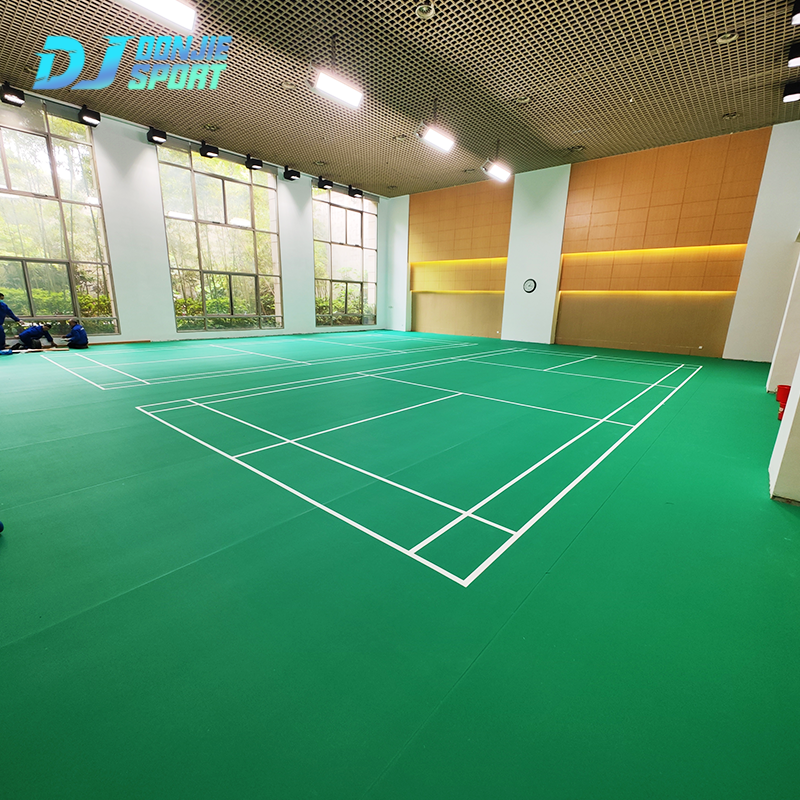
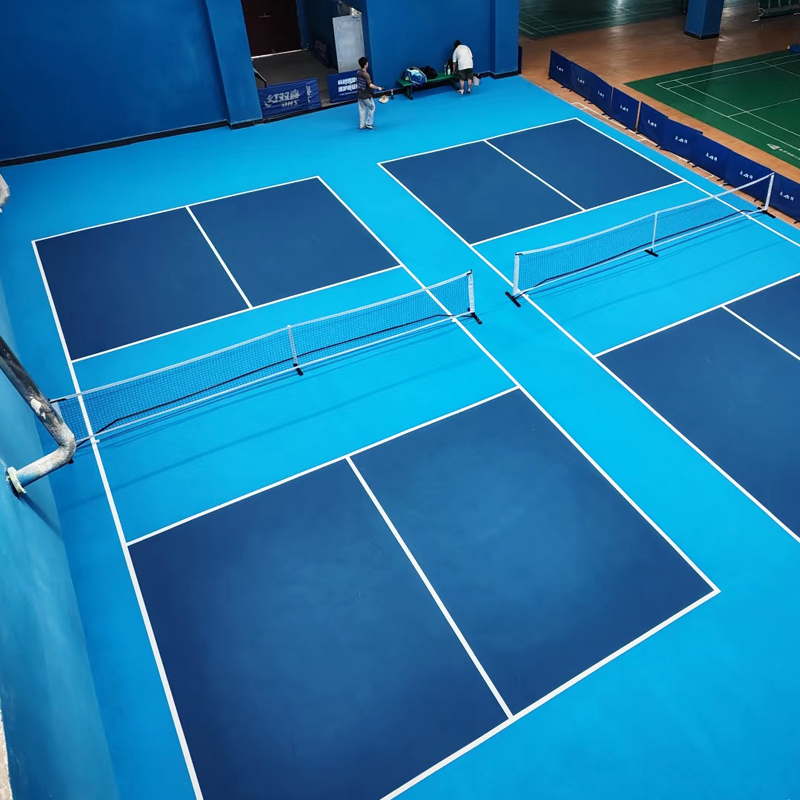
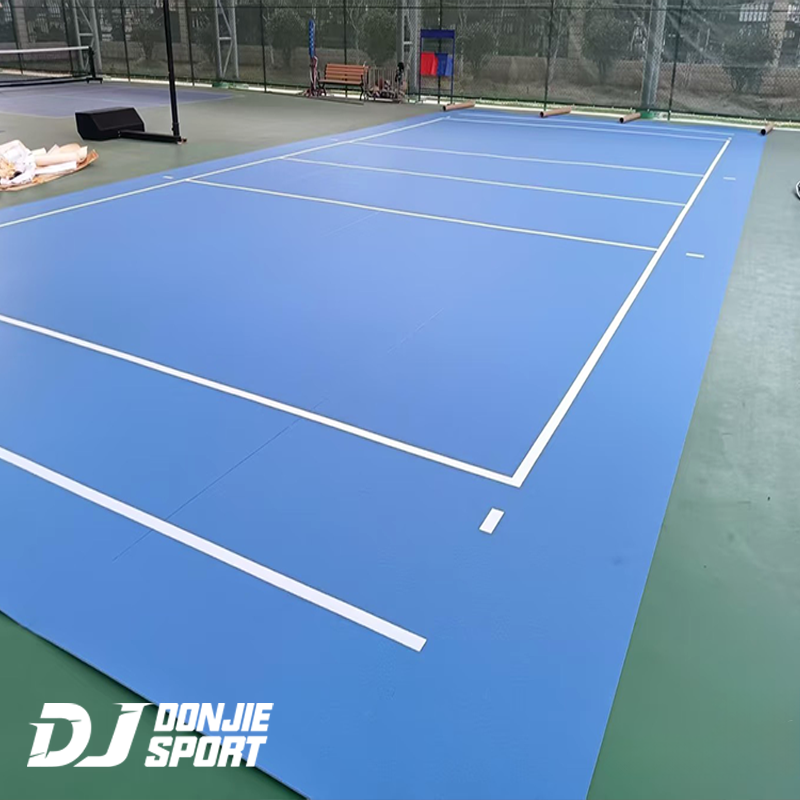
PVC Tiles: PVC (Polyvinyl Chloride) tiles are a popular option for both indoor and outdoor courts due to their durability, ease of installation, and resistance to moisture. They provide a firm, stable surface that’s ideal for volleyball games, offering a great balance of traction and cushioning.
-
Rubber Tiles: Rubber tiles are often used for their shock-absorbent qualities, making them an excellent choice for minimizing the impact on players’ joints. They’re highly durable and resistant to wear, which makes them perfect for high-traffic areas.
-
Wooden Surface Tiles: These tiles are ideal for indoor courts that require a more traditional, aesthetic look. Wooden tiles provide excellent ball bounce and a smooth playing surface, although they require more maintenance compared to PVC and rubber options.
Each type of tile offers unique features, and selecting the right one is crucial for long-term durability and player comfort. Volleyball court flooring tiles also offer the advantage of being modular, which makes them easier to install and replace compared to traditional poured-in-place flooring options.
Section 2: Tools and Materials You’ll Need
Before starting your volleyball court flooring installation, you’ll need to gather the necessary tools and materials. Having everything ready will ensure a smooth and efficient installation process.
-
Essential Tools:
-
Tile Cutter: For making straight cuts and adjustments to the tiles.
-
Rubber Mallet: Used to gently tap the tiles into place without damaging them.
-
Spacers: To maintain even gaps between tiles for proper alignment.
-
Measuring Tape: For accurate measurements and layout planning.
-
Level: To ensure the floor is perfectly even.
-
Utility Knife: For trimming edges and making precise cuts.
-
Seam Roller: For pressing the seams between tiles to ensure they bond well.
-
-
Materials Checklist:
-
Tiles: Choose high-quality volleyball court flooring tiles suited to your court’s needs.
-
Underlayment (if required): Some systems may need an underlayment to add extra cushioning or to protect the subfloor.
-
Adhesive (if applicable): Depending on the type of tile and court, adhesive may be necessary for securing tiles in place.
-
Grout: If you’re installing tiles that require grout, make sure to have this material on hand for the finishing touches.
-
Section 3: Preparing the Court Surface
Proper preparation of the surface is critical for ensuring the tiles adhere correctly and that your volleyball court flooring is level and stable. Whether you’re working with a concrete or wooden subfloor, the preparation process is the same.
-
Cleaning the Surface: Begin by thoroughly cleaning the court surface to remove dirt, dust, or debris. Use a broom or vacuum to eliminate any particles that could interfere with tile adhesion.
-
Leveling the Subfloor: Check the surface for any unevenness. If the subfloor is concrete, use a self-leveling compound to fill in any low spots. For wooden subfloors, ensure there are no loose or creaky areas, as these could cause the tiles to shift or lift over time.
-
Dealing with Existing Flooring: If you’re installing tiles over an existing floor, make sure the current flooring is in good condition. In some cases, it may be necessary to remove the old flooring entirely to create a solid foundation for the new tiles.
Section 4: Step-by-Step Installation Process
With the tools, materials, and prepared surface in place, it’s time to start installing the volleyball court flooring tiles. Follow these steps for a professional-quality finish:
Step 1: Measure and Plan the Layout
Start by measuring the court dimensions and marking out the layout on the surface. Ensure that the layout is square and symmetrical to avoid misalignment as you work. It’s important to plan where to start installing the tiles so that the cuts are hidden along the edges.
Step 2: Dry Fit the Tiles
Before applying any adhesive, lay out the tiles in a dry-fit pattern. This allows you to visualize the finished result and make any necessary adjustments to ensure that the tiles fit perfectly. If you encounter any gaps or uneven areas, now is the time to adjust the placement.
Step 3: Begin Installation
Once you’re happy with the dry fit, begin installing the tiles starting from one corner. If the tiles require adhesive, apply it sparingly to the subfloor using a trowel. Place the first tile down and use a rubber mallet to gently tap it into place. Continue working in rows, making sure each tile is aligned with the adjacent tiles.
Step 4: Cutting Tiles to Fit
For edges and corners, you may need to cut the tiles to fit. Use a tile cutter or utility knife for precision. Take your time to ensure that cuts are smooth and the tiles fit snugly without gaps.
Step 5: Ensuring Proper Alignment
As you proceed with the installation, constantly check the alignment of the tiles to ensure they’re straight and evenly spaced. Use spacers to maintain consistent gaps between the tiles.
Step 6: Securing the Tiles
If the tiles have adhesive backing, press them firmly into place. If you’re using interlocking tiles, click each piece together, ensuring a tight fit. Once all the tiles are in place, use a seam roller to press down the seams and ensure they bond together securely.

Section 5: Post-Installation Care and Maintenance
Once the flooring is fully installed, it’s time to focus on post-installation care and maintenance.
-
Cleaning the Flooring: Regularly sweep or vacuum the court to remove debris and dirt. Depending on the tile material, you may need to mop the surface with a damp cloth or mild cleaning solution.
-
Maintaining Tile Durability: Check for any signs of wear or damage, especially in high-traffic areas. Replace any damaged tiles promptly to prevent further deterioration.
-
Preventing Moisture Damage: If you’re installing the tiles outdoors, consider using a waterproof sealant to protect the tiles from rain or excessive moisture.
Conclusion
Installing volleyball court flooring tiles may seem like a complex task, but with the right tools, preparation, and technique, you can create a durable and professional-grade court. Whether you’re installing tiles for an indoor or outdoor volleyball court, following these steps ensures that the flooring remains sturdy and reliable for years to come.