Installing Table Tennis Flooring correctly is essential for achieving consistent ball bounce, stable footwork, and long-term surface durability. Unlike general sports floors, table tennis courts demand controlled friction, anti-slip performance, and shock absorption to support quick lateral movements. A professional installation ensures that the flooring performs as intended, minimizes injury risk, and maintains a clean, competition-ready appearance over time.
Poor installation can lead to surface deformation, uneven bounce, and premature wear. This is why understanding each step of the installation process is just as important as selecting the right Table Tennis Flooring material.

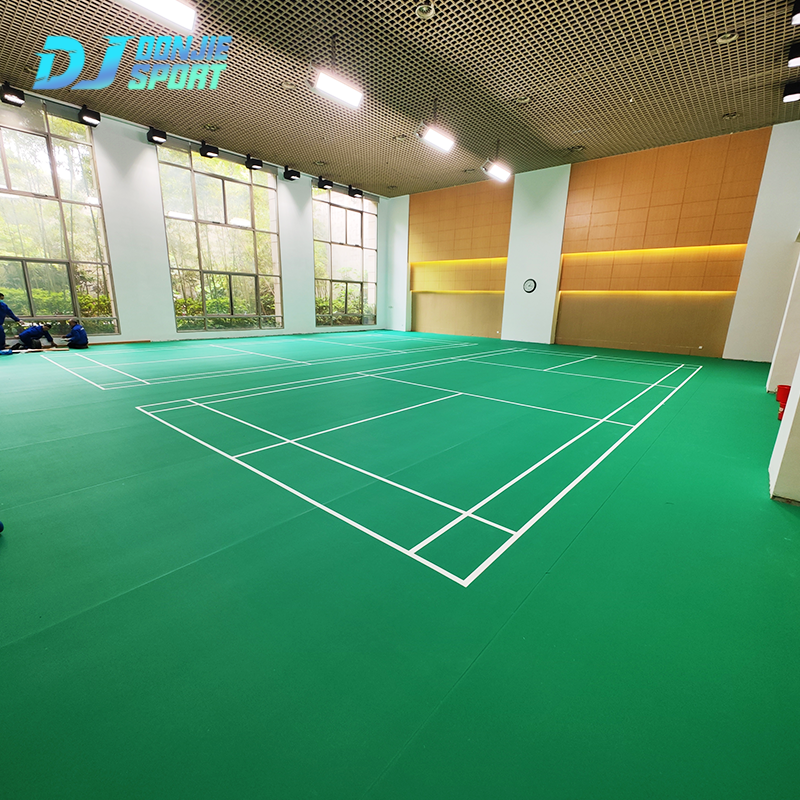
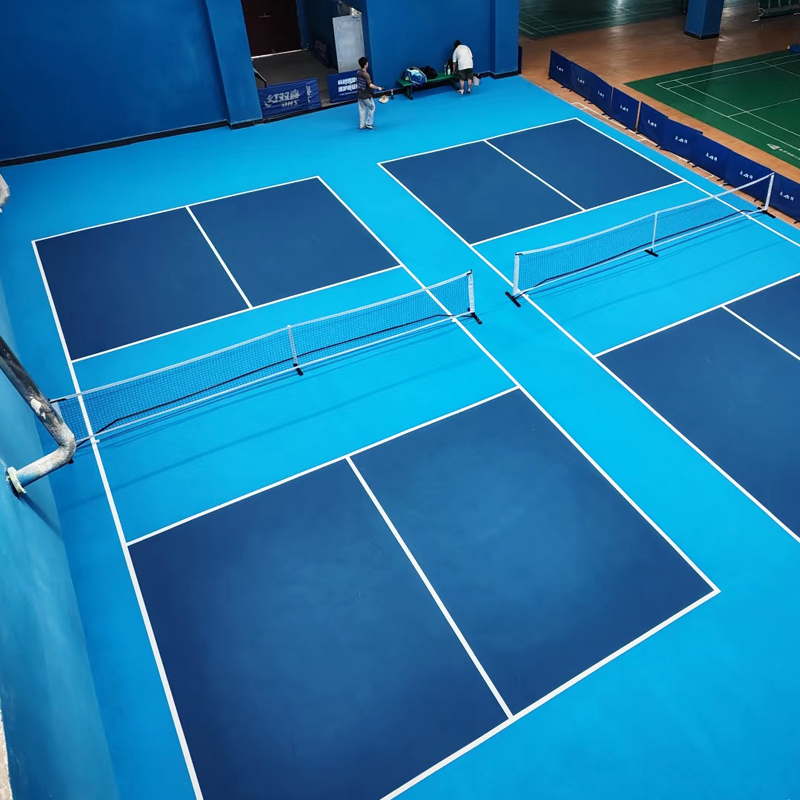
Types of Table Tennis Flooring Designed for Competitive Play
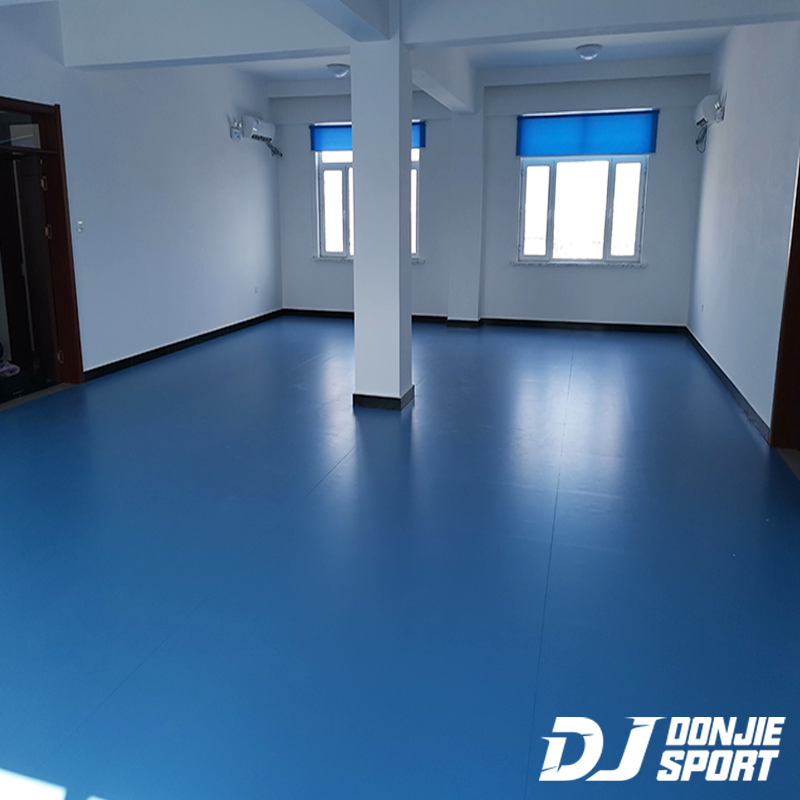
Modern Table Tennis Flooring is primarily designed using PVC sports flooring systems engineered for indoor environments. These surfaces typically feature multi-layer structures, including a wear-resistant top layer, reinforced fiberglass stability layers, cushioning foam, and a dense base layer for support.
High-quality Table Tennis Flooring offers anti-glare finishes, controlled slip resistance, and optimized elasticity to meet training and competition standards. Selecting flooring specifically designed for table tennis ensures that the installation process aligns with the material’s structural properties.
Preparing the Subfloor Before Installing Table Tennis Flooring
Subfloor preparation is the foundation of successful Table Tennis Flooring installation. The base surface must be dry, clean, flat, and structurally sound. Concrete subfloors should be fully cured, free from cracks, and moisture-tested before installation.
Any dust, grease, or debris must be removed to ensure proper adhesion. Minor imperfections should be leveled using self-leveling compounds, as uneven subfloors can compromise the performance and lifespan of Table Tennis Flooring.
Measuring and Planning Layout for Table Tennis Flooring Areas
Accurate measurement and layout planning are critical for a professional finish. Installers should measure the full playing area, including safety zones around tables, to ensure proper coverage. Planning the direction of flooring rolls or tiles helps maintain visual consistency and performance uniformity.
Marking reference lines allows for precise alignment during installation, reducing material waste and preventing misalignment that could affect player movement on Table Tennis Flooring.
Acclimating Table Tennis Flooring Materials Before Installation
Before installation begins, Table Tennis Flooring materials must be acclimated to the indoor environment. Flooring rolls or tiles should be placed in the installation area for at least 24 to 48 hours, allowing them to adjust to room temperature and humidity.
This step minimizes expansion or contraction after installation, ensuring dimensional stability and preventing gaps or curling edges on the Table Tennis Flooring surface.
Step-by-Step Installation Process for Table Tennis Flooring
The installation process typically begins by applying adhesive evenly across the prepared subfloor, following the manufacturer’s specifications. Table Tennis Flooring is then carefully laid into position, ensuring tight seams and smooth contact with the adhesive layer.
Rollers are used to remove trapped air and improve bonding strength. Installers work methodically across the court area to maintain consistent pressure and alignment, resulting in a seamless and professional Table Tennis Flooring surface.
Securing Edges and Joints in Table Tennis Flooring Systems
Edges and joints play a critical role in long-term durability. Heat welding or cold welding techniques are commonly used to seal seams, creating a unified surface that resists moisture and wear. Properly sealed joints enhance hygiene and prevent dirt accumulation.
Perimeter edges should be secured using compatible trims or skirting to protect the Table Tennis Flooring from lifting and impact damage during regular use.
Surface Finishing and Initial Performance Testing
After installation, the surface should be cleaned and inspected for imperfections. Initial performance testing includes checking slip resistance, ball rebound consistency, and overall surface stability.
This final evaluation ensures that the Table Tennis Flooring meets performance expectations and is ready for training or competition use without adjustments.
Common Installation Mistakes to Avoid with Table Tennis Flooring
One common mistake is skipping moisture testing, which can lead to adhesive failure. Another issue is improper seam alignment, resulting in visible gaps or uneven surfaces. Rushing the acclimation process can also cause dimensional changes after installation.
Avoiding these mistakes helps preserve the integrity of Table Tennis Flooring and ensures reliable performance over time.
Maintenance Tips After Installing Table Tennis Flooring
Once installed, Table Tennis Flooring should be maintained using dry or slightly damp cleaning methods. Harsh chemicals and abrasive tools should be avoided to protect the wear layer.
Routine maintenance not only preserves appearance but also maintains consistent traction and ball response, extending the usable life of the Table Tennis Flooring system.
Long-Term Performance Benefits of Professionally Installed Table Tennis Flooring
Professionally installed Table Tennis Flooring delivers consistent playability, enhanced athlete safety, and reduced maintenance costs. Proper installation supports the flooring’s structural design, ensuring reliable performance under frequent use.
Over time, this investment results in a high-quality playing environment suitable for training centers, clubs, and professional venues dedicated to table tennis.