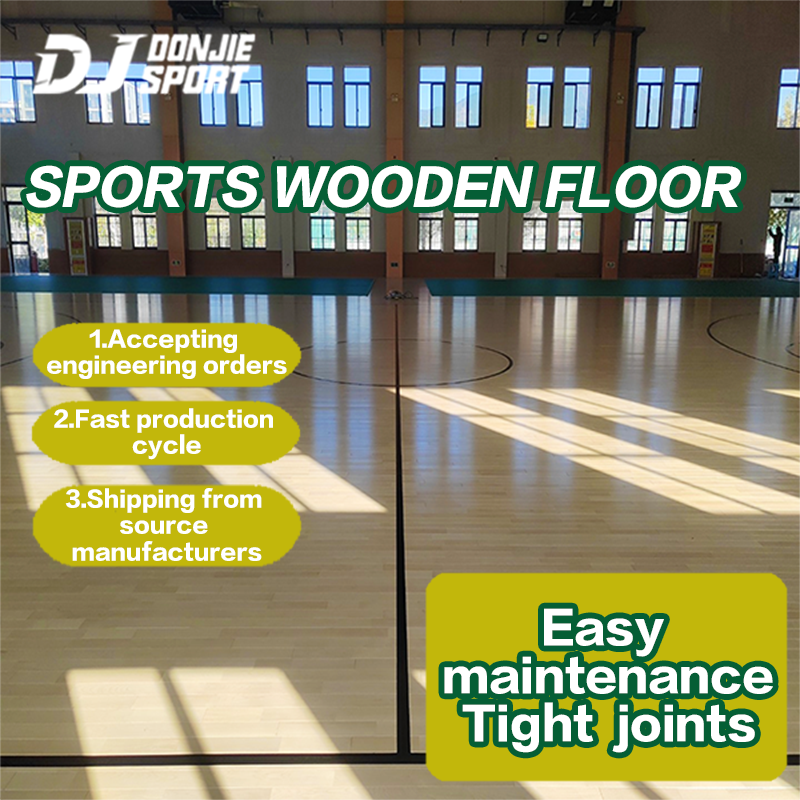
When it comes to building a high-performance basketball court, one of the most crucial elements to consider is the flooring. A well-chosen basketball court wood flooring not only contributes to the aesthetics of the court but also plays a significant role in the players’ experience. The right flooring can improve performance, ensure safety, and offer durability under the intense use typical of sports courts.
Basketball court wood flooring is engineered to withstand the wear and tear of competitive play while providing the right amount of bounce and grip for athletes. Whether you’re building a professional-grade court or simply upgrading an existing one, understanding the installation process and the various choices available will ensure you make the best decision for your facility.
In this comprehensive guide, we’ll take you step by step through the process of installing basketball court wood flooring, discuss the types of wood best suited for the job, and provide tips on how to care for your court after installation. This will help you achieve the ideal court that enhances both performance and longevity.

Section 1: Understanding Basketball Court Wood Flooring
What Is Basketball Court Wood Flooring?
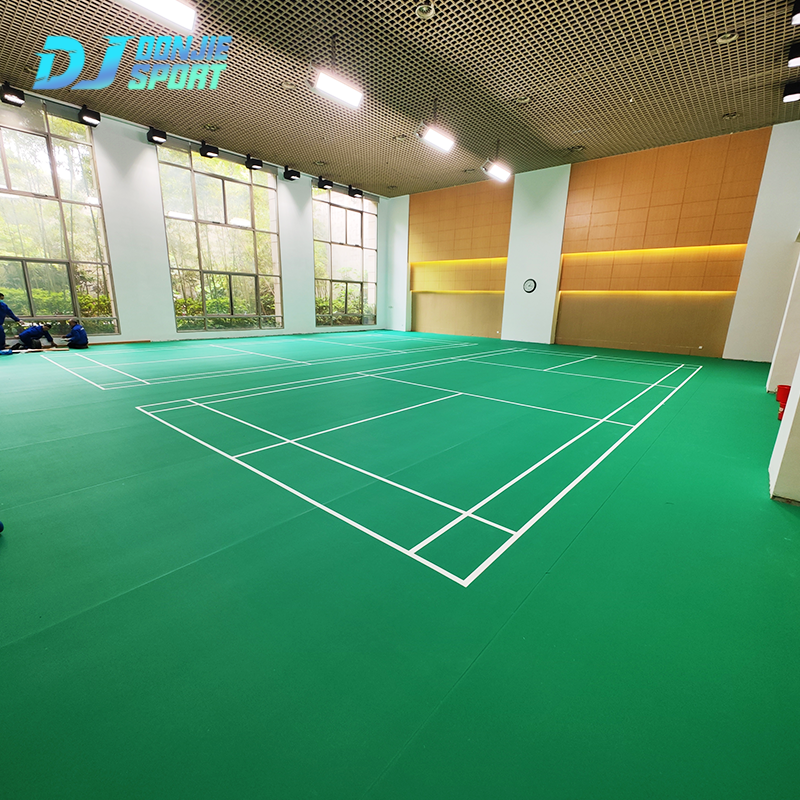
Basketball court wood flooring is specifically designed for indoor sports courts, featuring high-quality materials that provide durability, shock absorption, and traction. These floors are often made from hardwood, such as maple, which is the industry standard due to its strength and ability to handle the stresses of fast-moving play.
Unlike typical residential hardwood floors, basketball court wood flooring is engineered to meet the needs of high-impact activities. The floor has a smooth surface that allows for fast movement, while the layers beneath the wood provide cushioning to protect players’ joints and reduce fatigue.
Common Types of Wood Used in Basketball Court Flooring
The most commonly used woods for basketball court flooring are:
-
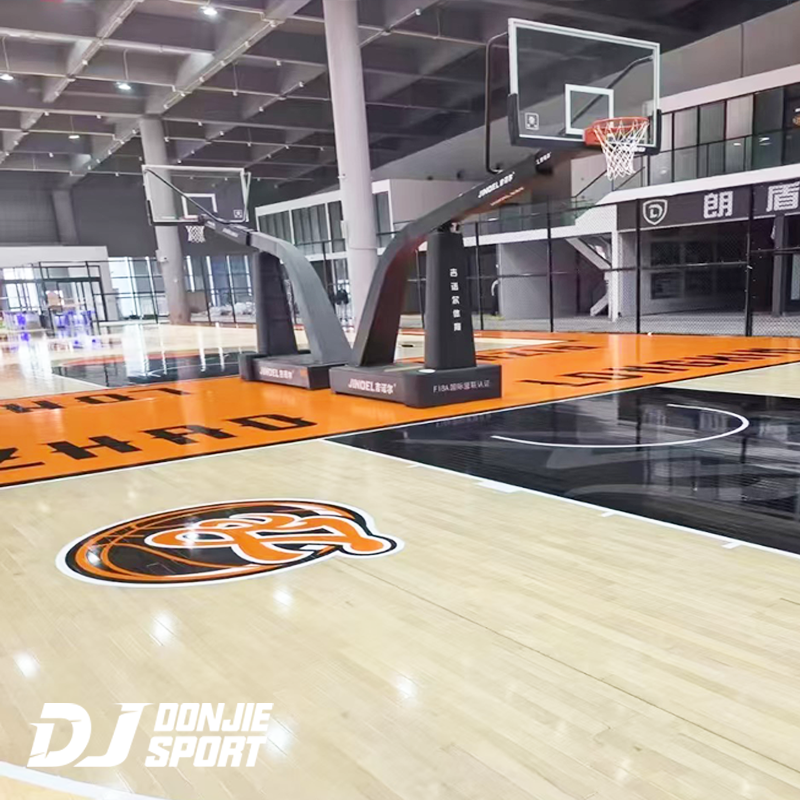
Maple: Known for its durability, smooth finish, and resilience, maple is the most popular choice for basketball courts. Its fine grain and consistent color make it a visually appealing option.
-
Oak: While less common than maple, oak is also a strong and reliable choice for sports courts. It tends to be more affordable but still offers good performance.
-
Birch: Birch offers a unique visual appeal with its lighter color and smoother texture. It’s less durable than maple but can still serve as a good option for lower-budget installations.
Each type of wood has its own advantages, but for high-performance basketball courts, maple generally stands out as the best option due to its optimal combination of strength, durability, and aesthetic appeal.
Key Benefits of Wood Flooring for Basketball Courts
-
Durability and Longevity: Hardwood floors are built to last, even under intense usage. Maple, for instance, is known to withstand years of high-impact play.
-
Shock Absorption: The design of basketball court wood flooring includes multiple layers that absorb impact, which reduces the strain on players’ joints and provides a more comfortable playing surface.
-
Aesthetic Appeal: Wood floors have a timeless look that is both professional and elegant. They are often used in professional leagues and high-end facilities for their aesthetic qualities.
-
Grip and Traction: A properly maintained wood floor provides the right amount of grip, ensuring players can make quick cuts and pivots safely. This is essential for performance in basketball.
-
Low Maintenance: Wood floors are relatively easy to clean and maintain compared to other types of court surfaces, requiring only regular cleaning and occasional refinishing.
Section 2: Preparing for Installation
Before beginning the installation of your basketball court wood flooring, it is crucial to prepare the space properly. This ensures that the floor is installed correctly and will last for many years.
How to Assess Your Space for Basketball Court Wood Flooring
The first step is to carefully evaluate the space where you plan to install the flooring. Measure the dimensions of the court to ensure you purchase enough material. Keep in mind that basketball courts come in different sizes, and you’ll need to account for both the playing area and any buffer zones or safety zones around the court.
Additionally, make sure the environment is dry and well-ventilated. Excess moisture can damage the wood over time, so the area should be free of moisture or humidity issues.
Tools and Materials Needed for Installation
For a successful installation, you’ll need several tools and materials, including:
-
Measuring Tape – To accurately measure the court area.
-
Subflooring Material – A plywood base or another suitable subfloor material.
-
Wood Flooring Planks – Pre-finished or unfinished wood planks, depending on your preference.
-
Adhesive – A strong adhesive specifically designed for wood flooring.
-
Nail Gun or Flooring Stapler – For securing the planks to the subfloor.
-
Leveling Tools – To ensure that the floor is perfectly even.
-
Sanding Equipment – If you are installing unfinished wood, sanding will be necessary.
How to Measure Your Court Space Accurately
To ensure that you purchase enough wood flooring, accurate measurements are essential. Measure both the length and width of the court and add extra for the borders. Double-check your measurements before purchasing materials to avoid wasting time and money.
Section 3: Step-by-Step Guide to Installing Basketball Court Wood Flooring
Now that your space is properly prepared and you have all the necessary materials, it’s time to start the installation process. Below is a detailed, step-by-step guide to help you successfully install basketball court wood flooring.
Step 1: Preparing the Subfloor
The first step in installing wood flooring is to prepare the subfloor. It is critical to ensure that the subfloor is flat, dry, and clean. Any unevenness or debris can affect the quality of your installation.
-
Check for Levelness: Use a level tool to check that the subfloor is even. If you notice any high spots or dips, use a sander or filler to level the surface.
-
Clean the Subfloor: Sweep or vacuum the subfloor to remove dust, dirt, and debris that could interfere with the adhesion of the wood.
-
Moisture Testing: Test the subfloor for moisture using a moisture meter. Wood floors can be damaged by excessive moisture, so it’s important to ensure that your subfloor is dry before proceeding.
Step 2: Installing the Underlayment
Once the subfloor is prepared, the next step is to install the underlayment. The underlayment serves as a cushion between the subfloor and the wood flooring, adding an extra layer of shock absorption.
-
Choose the Right Underlayment: Depending on the type of wood and the subfloor, you may need an underlayment material such as cork or foam. Make sure to choose one that is specifically designed for basketball courts.
-
Lay the Underlayment: Roll out the underlayment across the subfloor, ensuring that there are no wrinkles or gaps. The edges of the underlayment should overlap by a few inches to create a seamless barrier.
-
Secure the Underlayment: Depending on the material, you may need to glue or staple the underlayment down to ensure it stays in place.
Step 3: Laying the Wood Flooring Planks
With the subfloor and underlayment in place, you can begin laying the wood flooring planks. This step requires precision, as the planks must be aligned properly to create a smooth, even surface.
-
Start from the Center: Begin in the center of the court and work your way outwards. This will ensure that the pattern is symmetrical and that the wood planks are evenly spaced.
-
Use a Chalk Line: To keep your planks aligned, snap a chalk line down the center of the court as a reference guide.
-
Lay the Planks: Place the first row of planks along the chalk line. Leave a small gap (about ¼ inch) between the edge of the planks and the wall to allow for expansion.
-
Secure the Planks: Use a flooring stapler or nail gun to secure the planks in place. Make sure to fasten each plank every 6-8 inches to ensure they stay tight together.
Step 4: Securing the Planks and Ensuring Stability
Once you have installed the first row of planks, continue laying the remaining planks row by row. Each plank should interlock with the previous one, forming a solid and continuous surface.
-
Check Alignment: As you go along, periodically check the alignment to ensure the planks are straight and even.
-
Use Wood Glue (Optional): In some cases, it may be beneficial to use wood glue on the edges of the planks to secure them together. This will help prevent any movement or creaking once the floor is in use.
Step 5: Finishing Touches – Sanding and Sealing the Floor
Once all the planks are installed, it’s time to give the floor a smooth finish. This is particularly important if you used unfinished wood.
-
Sanding the Floor: Use a drum sander to sand the entire surface of the court. This will remove any rough spots and ensure a smooth, even texture.
-
Apply a Finish: After sanding, apply a polyurethane or sport court finish to the floor. This will protect the wood from moisture and wear and give the court its glossy, professional appearance.
-
Allow to Dry: Ensure the finish is fully dry before allowing anyone to play on the floor. Follow the manufacturer’s recommended drying times for best results.
Section 4: Common Challenges and How to Overcome Them
Installing basketball court wood flooring can be challenging, especially for beginners. Here are a few common obstacles you might encounter, and how to handle them:
Dealing with Uneven Subfloors
If the subfloor is uneven, it could lead to an unstable installation and damage over time. Use a leveling compound to fill in low areas and ensure the subfloor is completely flat before proceeding.
Managing Wood Expansion and Contraction
Wood naturally expands and contracts with changes in humidity and temperature. To manage this, always leave a small gap (about ¼ inch) between the wood planks and the walls to allow for expansion.
Ensuring Proper Adhesion of the Flooring
To prevent your flooring from lifting or shifting, use high-quality adhesive or nails to secure the planks firmly. Be sure to check the manufacturer’s instructions to ensure the right adhesive is used for your specific wood type.
Section 5: Maintenance and Care for Your Basketball Court Wood Flooring
Maintaining your basketball court wood flooring will help prolong its lifespan and keep it looking pristine for years. Here are a few essential maintenance tips:
Cleaning and Maintaining the Wood Surface
Regular cleaning is essential to prevent dirt and debris from damaging the floor. Use a soft-bristled broom or vacuum to remove dust and dirt. For deeper cleaning, use a wood-friendly floor cleaner.
How to Prevent Scratches and Dents
To prevent scratches, use floor mats or felt pads under furniture or equipment. Be mindful of sharp objects on the court, as they can easily damage the wood surface.
How to Refinish and Restore Your Wood Flooring
Over time, wood floors can become worn and lose their shine. To restore their appearance, sand the surface and apply a fresh coat of finish. This will not only improve the look but also protect the wood from further damage.
Section 6: Why Choose Professional Installation for Your Basketball Court Wood Flooring?
While DIY installation can be rewarding, hiring a professional is often the best choice for ensuring the job is done right. Here are a few reasons why professional installation may be worth the investment:
-
Expertise and Precision: Professional installers have experience and training to handle any challenges that may arise during installation. They ensure the flooring is laid correctly and aligned perfectly.
-
Faster Turnaround: Professional installation typically takes less time than DIY installation, so you can start using your court sooner.
-
Warranty and Guarantees: Many flooring companies offer warranties on both materials and installation, giving you peace of mind knowing your investment is protected.
Conclusion
Installing basketball court wood flooring is an investment in both the performance and longevity of your court. By following the steps outlined in this guide, you can ensure that your court will not only look great but also provide the ideal playing surface for athletes. Whether you’re installing the flooring yourself or hiring a professional, proper planning and attention to detail are essential for a successful outcome.